December 09, 2017

How to Decorate for Your Baby's First Christmas

Lots of pink and oh so sweet.

Baby’s First Christmas

Well, believe it or not, the countdown to Christmas has officially begun! How is it just over two weeks away? Ah! And now that the snow has come (and gone) here in Houston, we’re most certainly in the proper mindset.

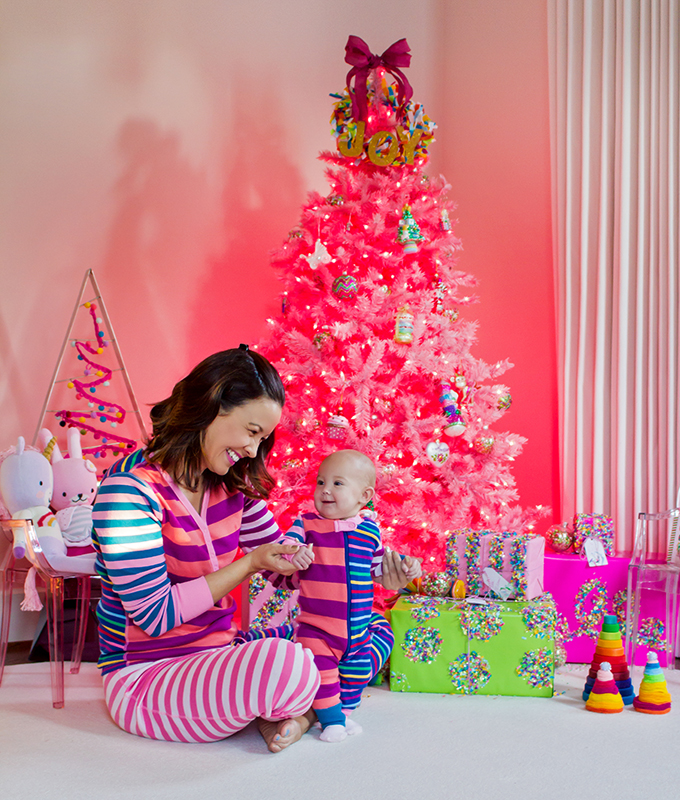
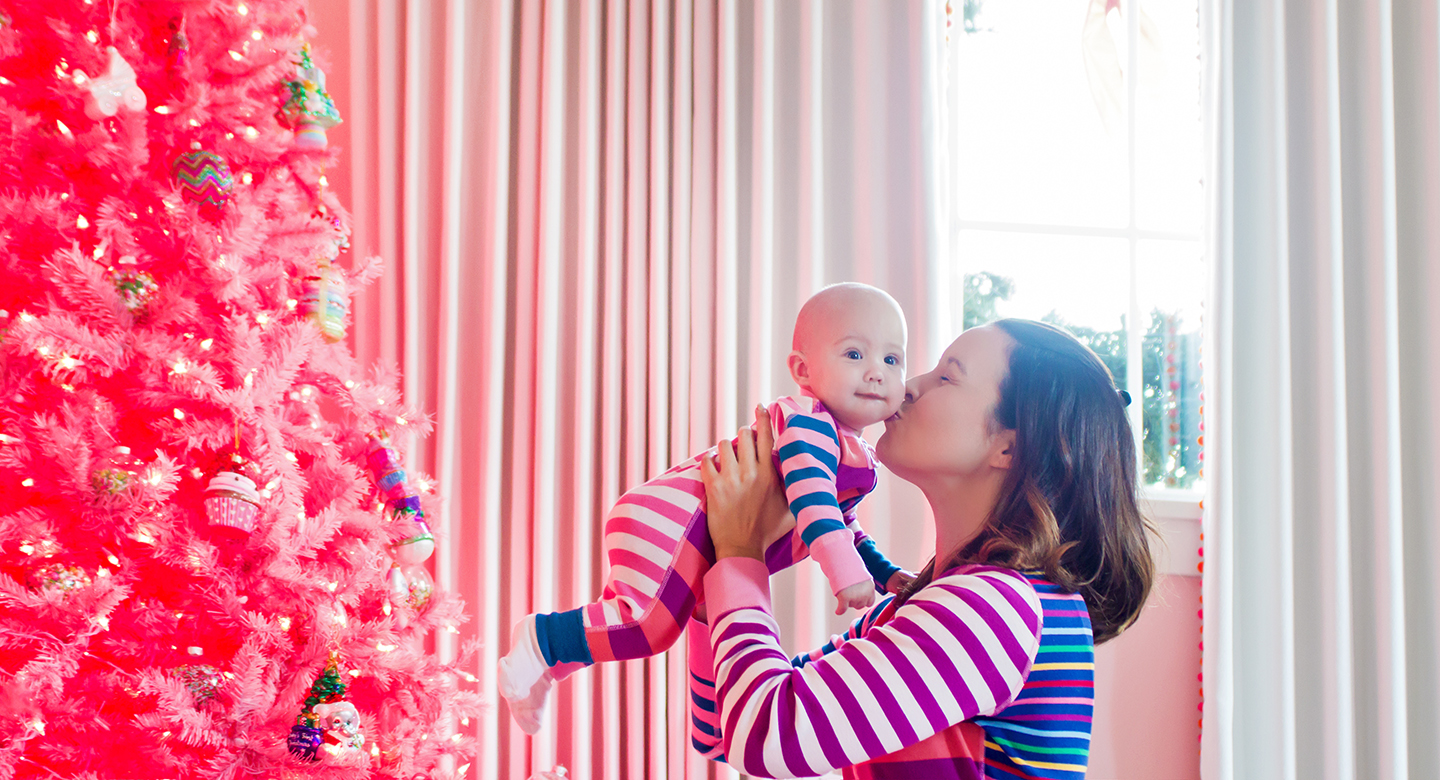
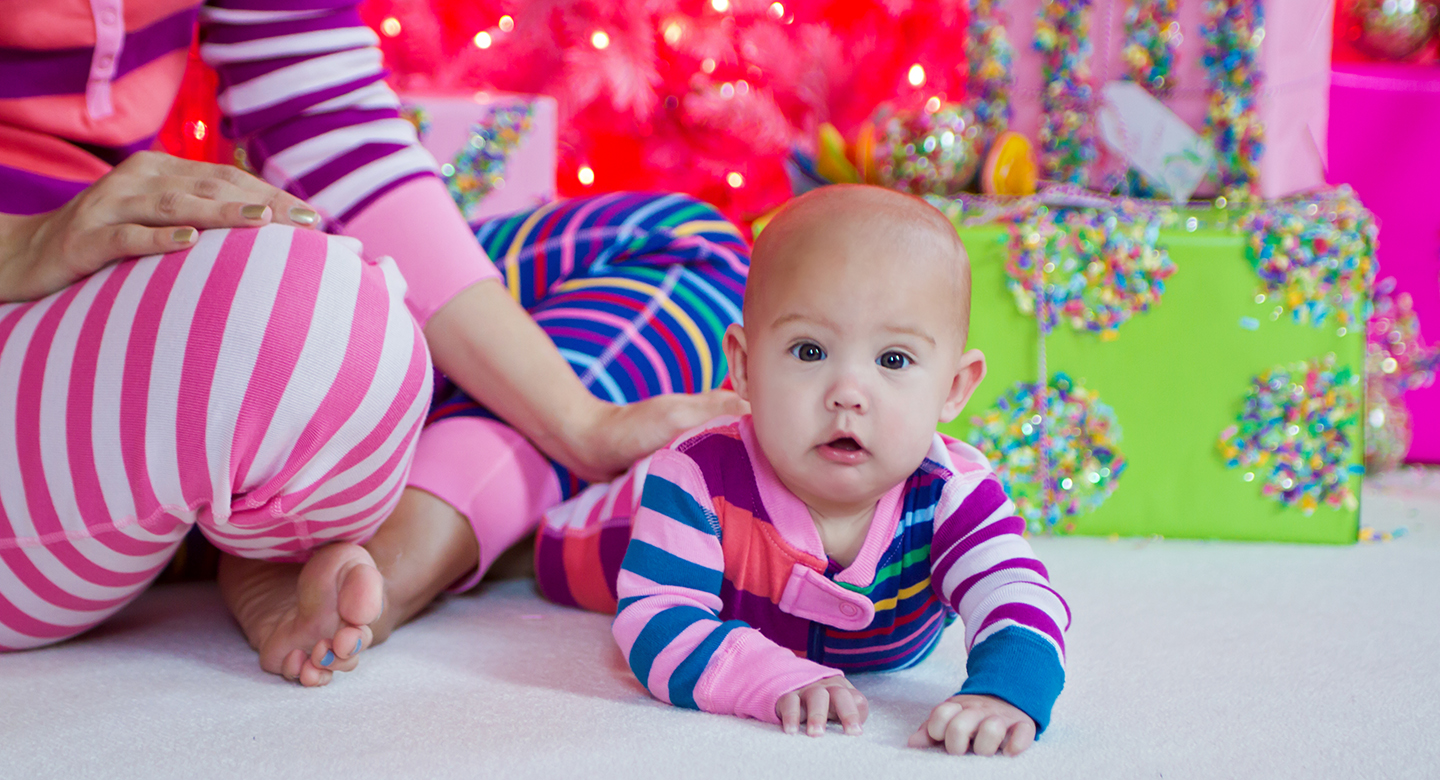
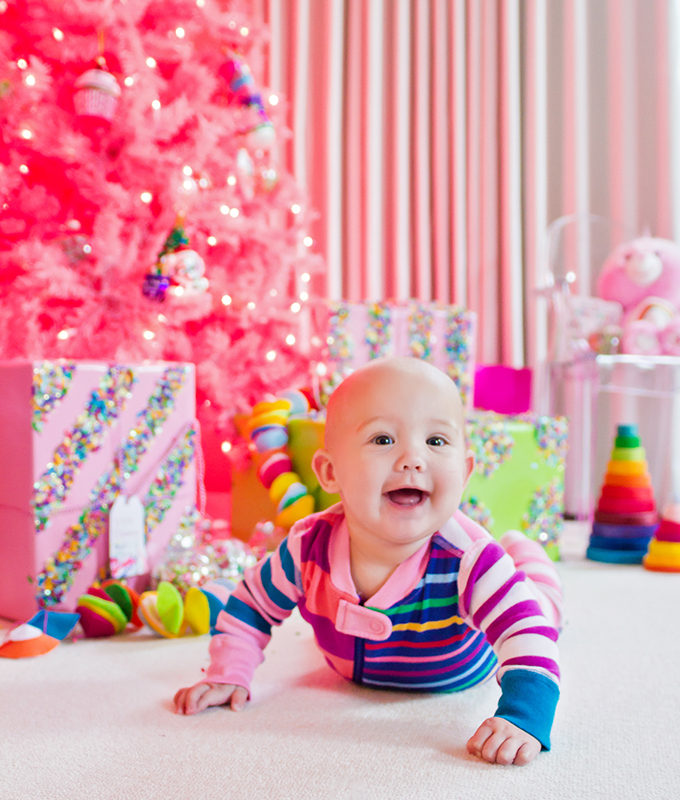
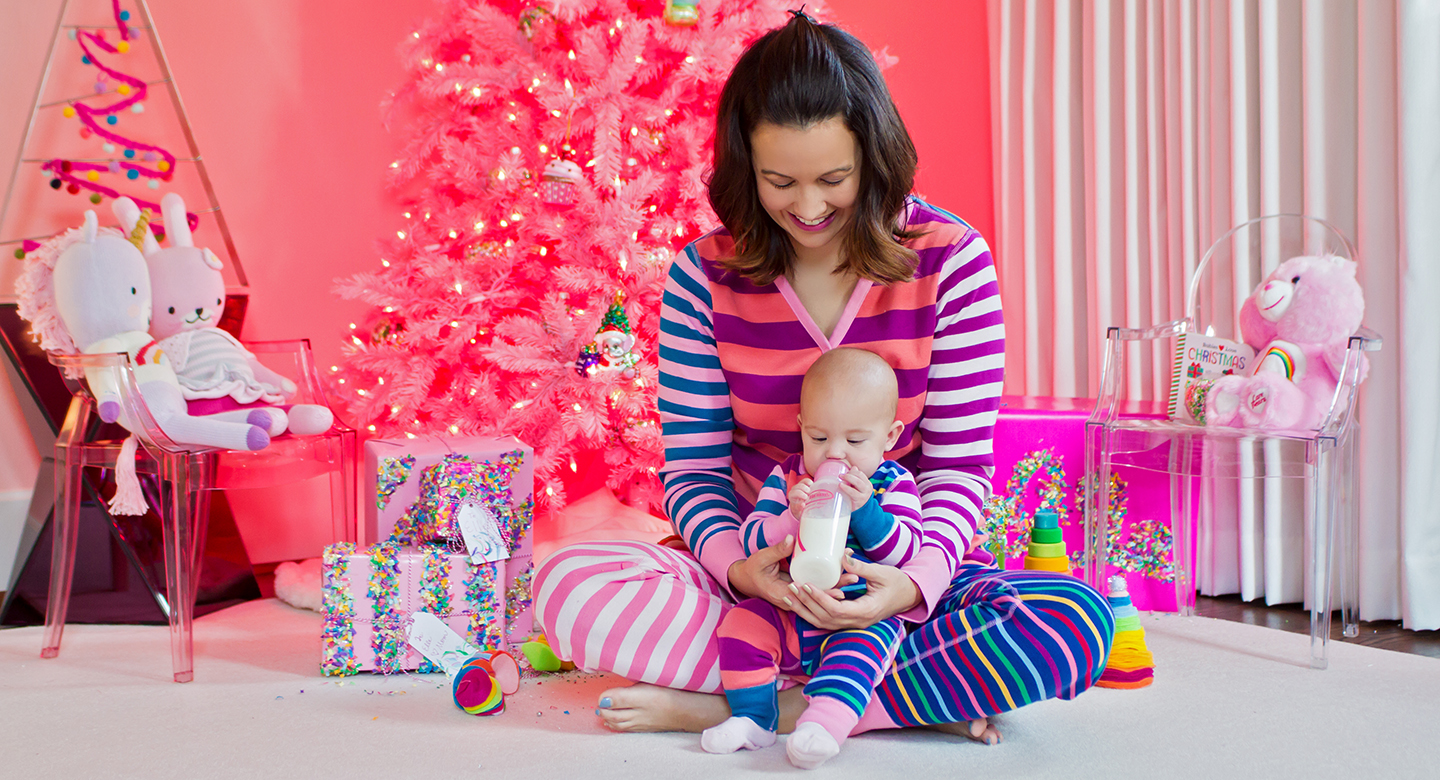
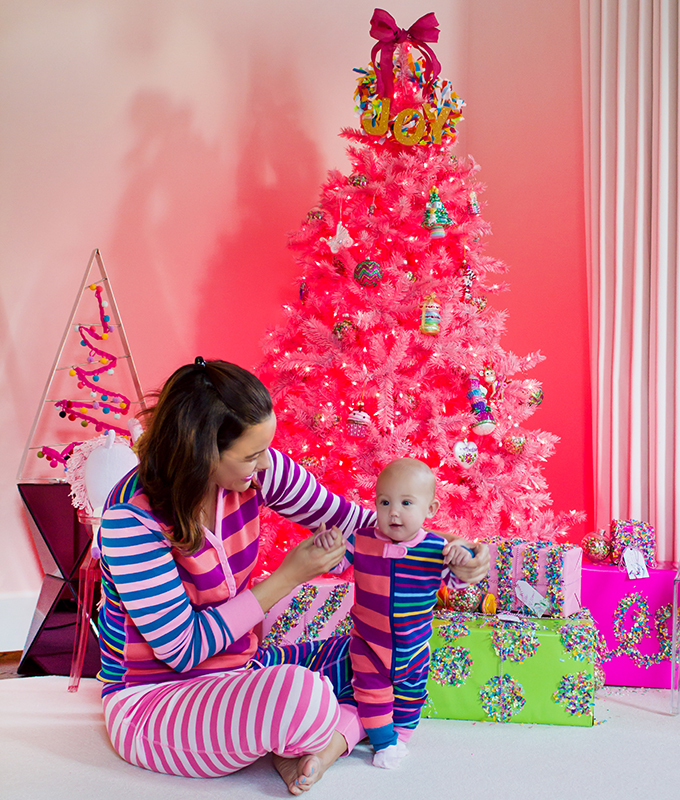
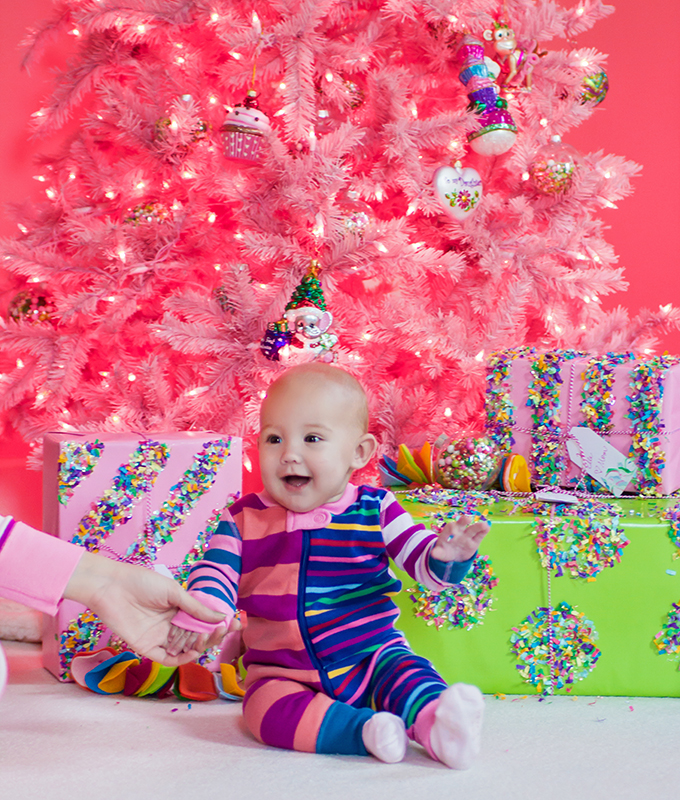
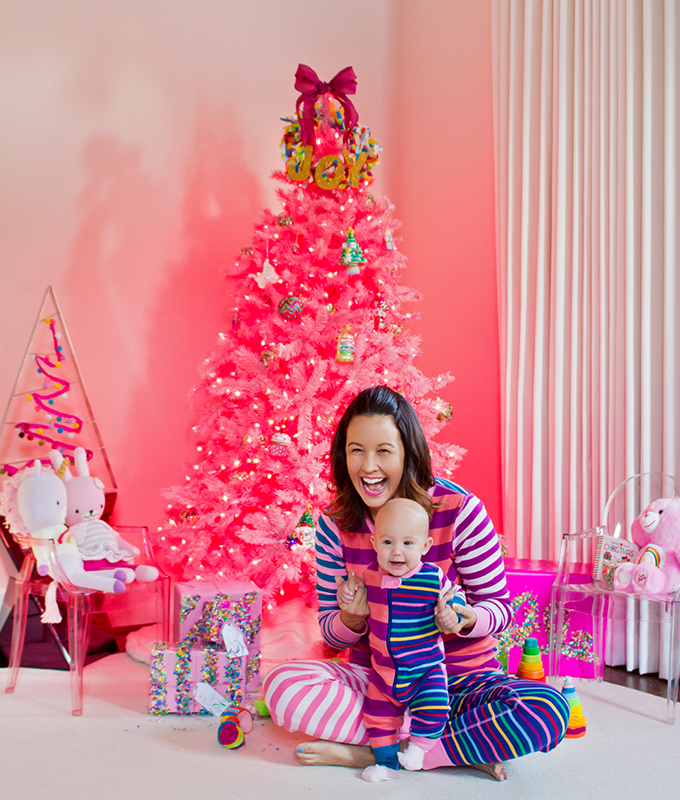
This Christmas is extra special for Carrie because it’s Elle’s first!! Carrie has talked about how excited she is to experience the season through her daughter’s eyes. I got to witness, firsthand, Elle looking at the Christmas tree, and her eyes truly lit up. If it’s this magical for adults, I can only imagine what goes through a 6-month old’s head! So special, indeed.

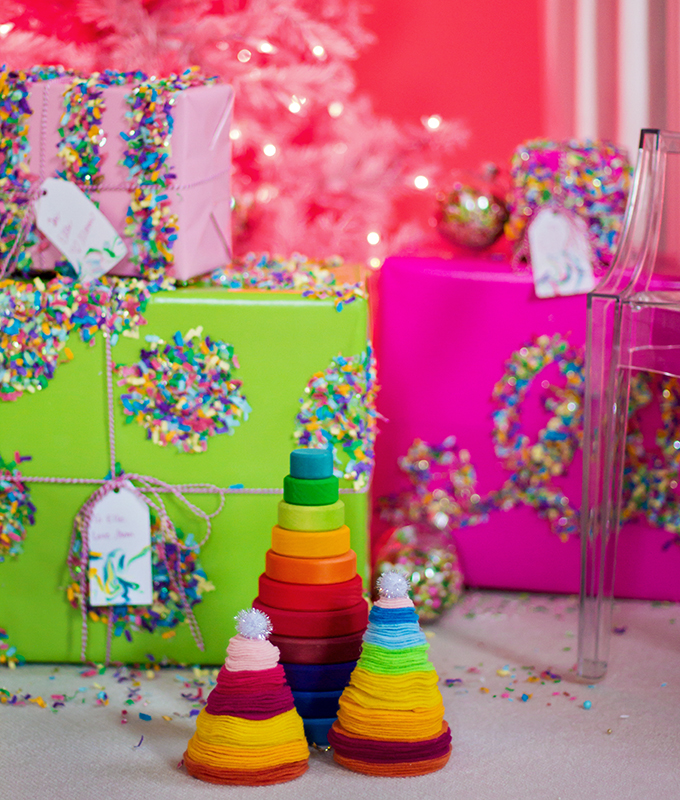
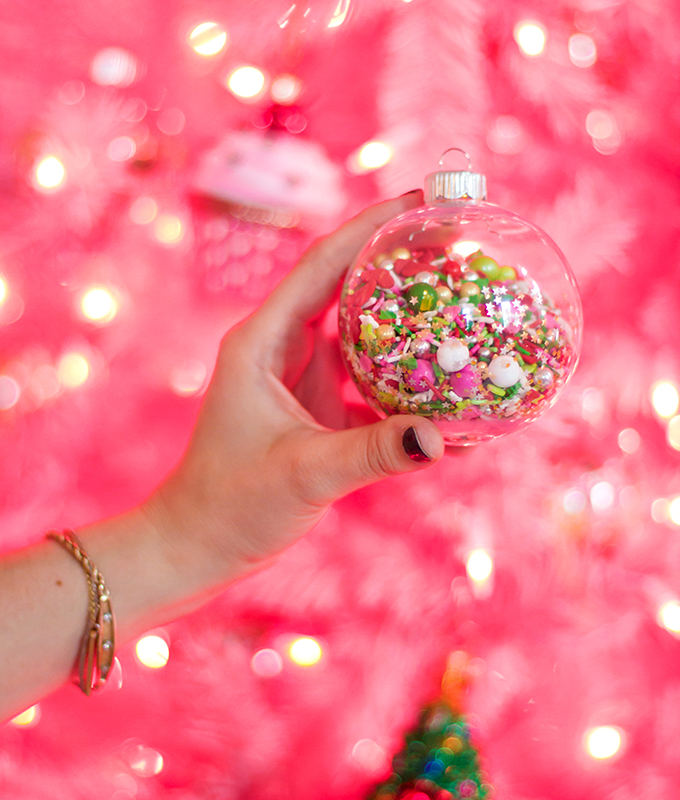
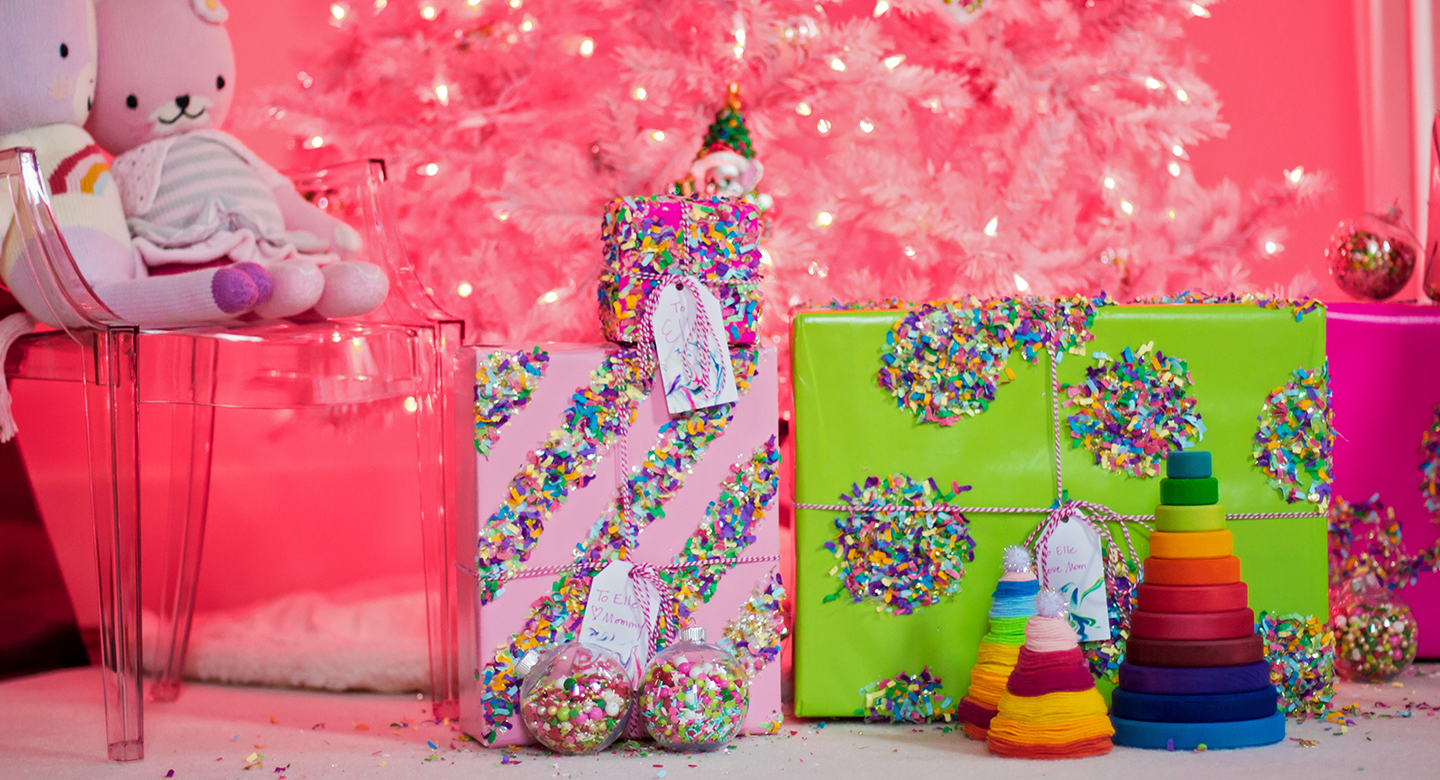
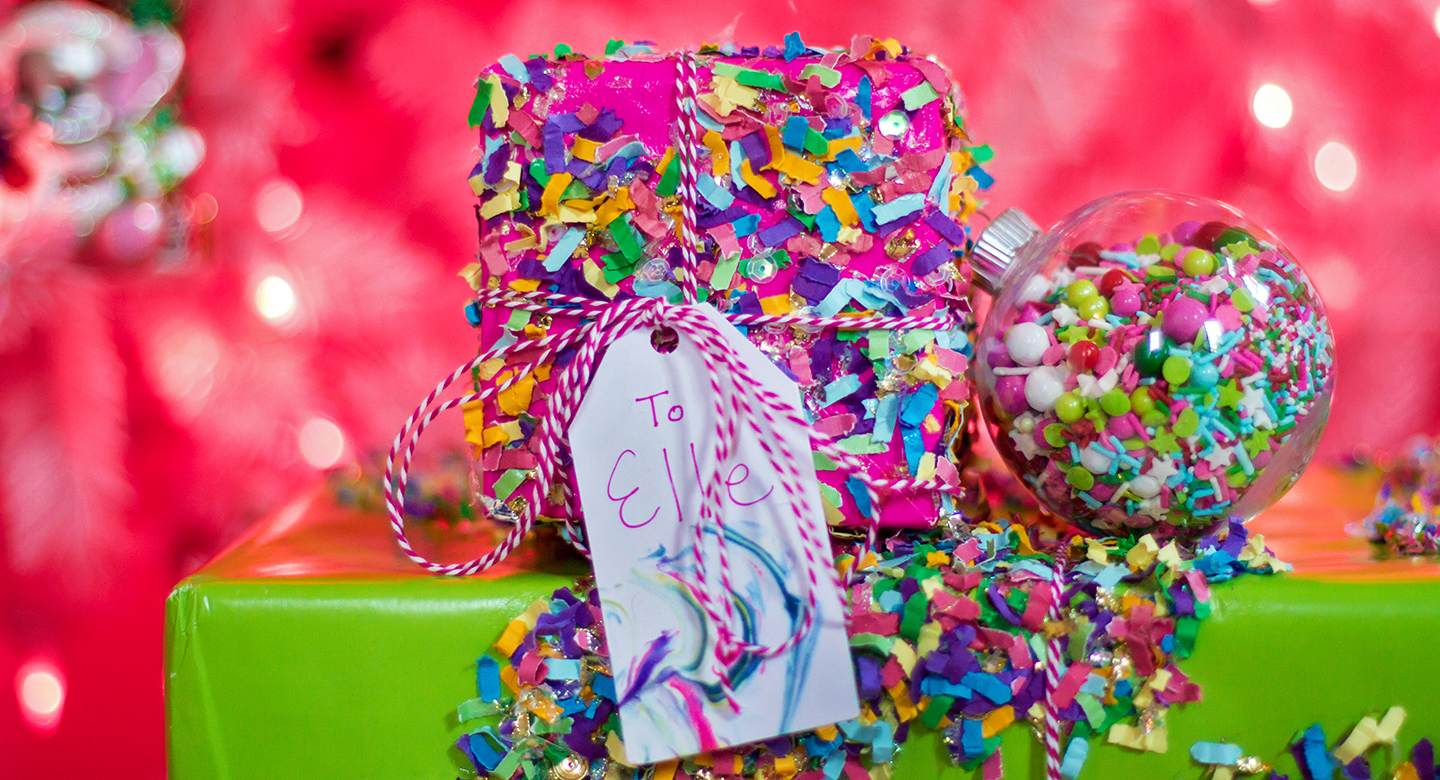
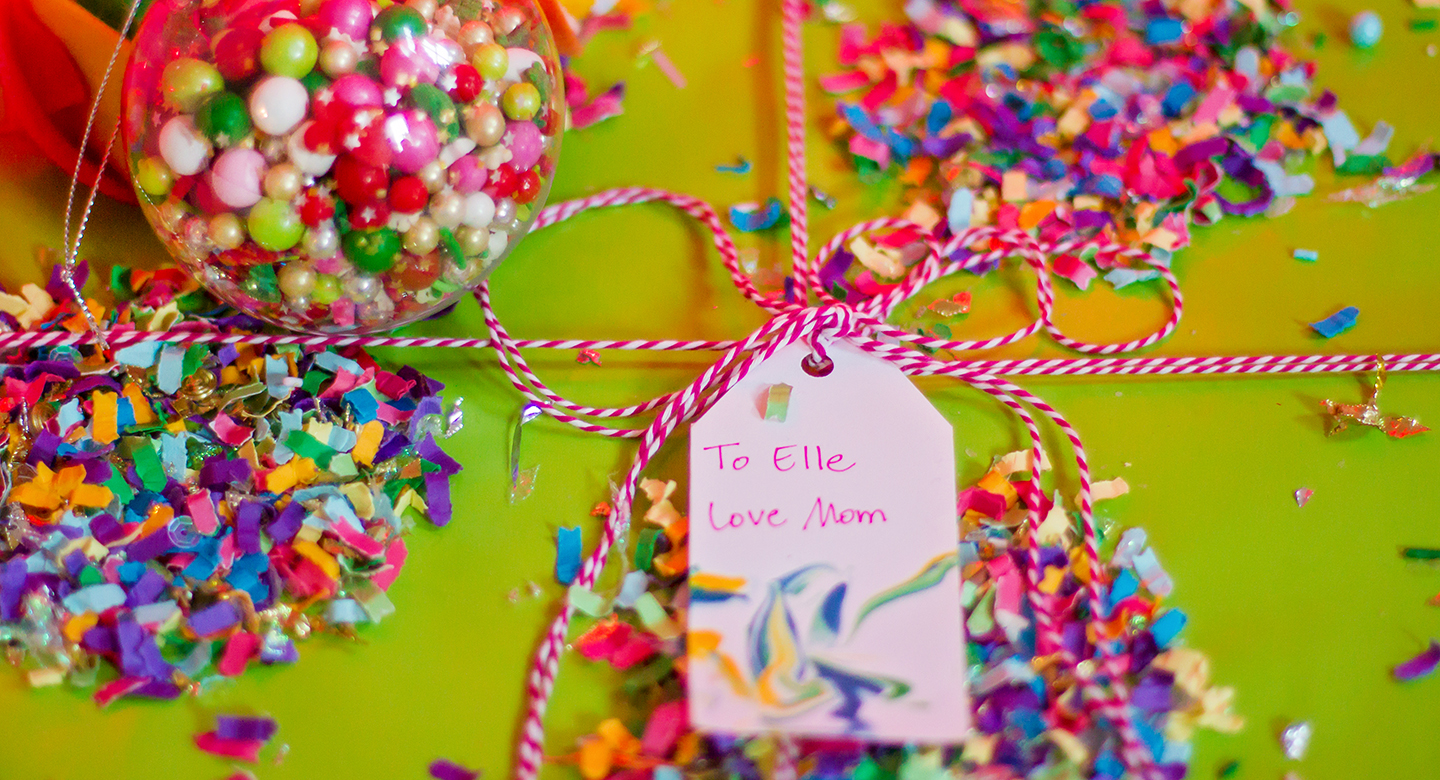
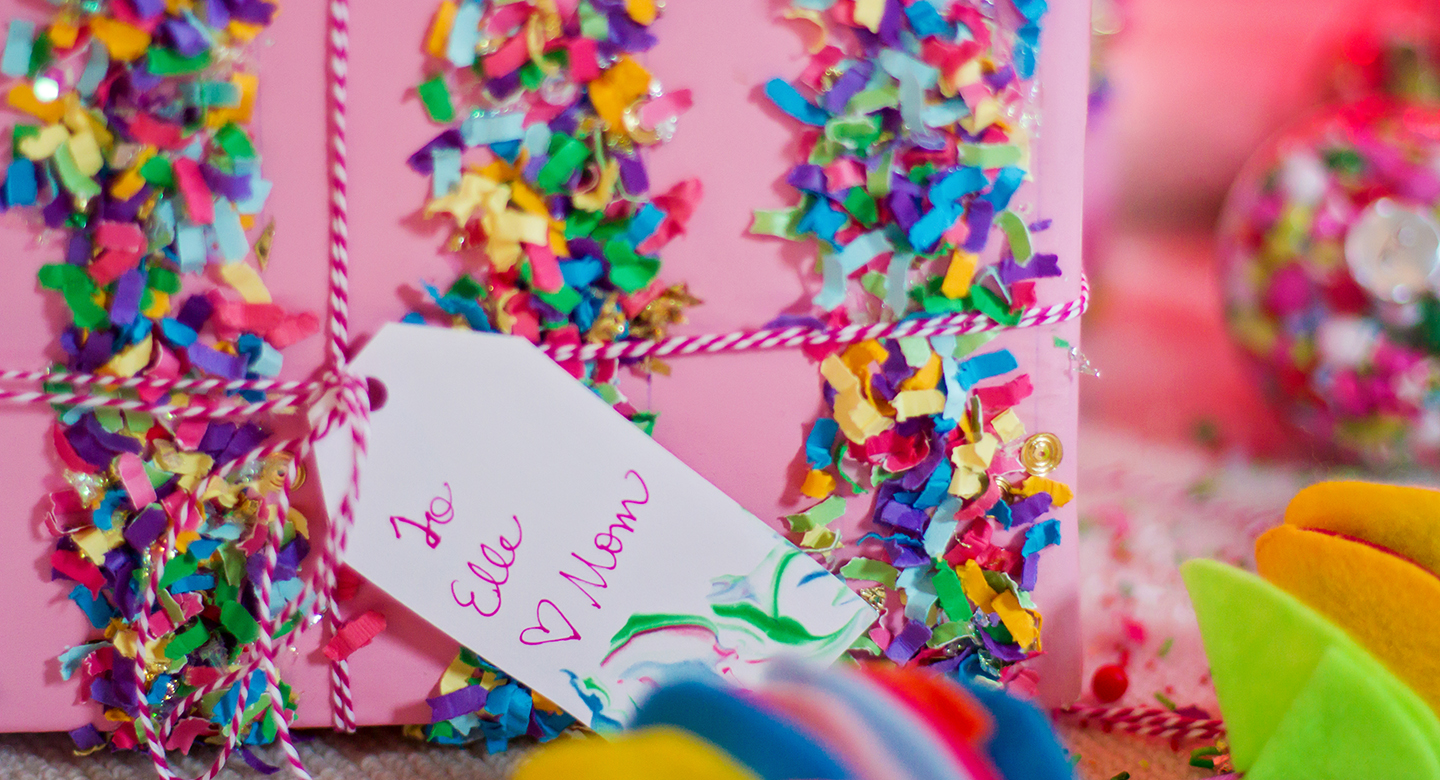
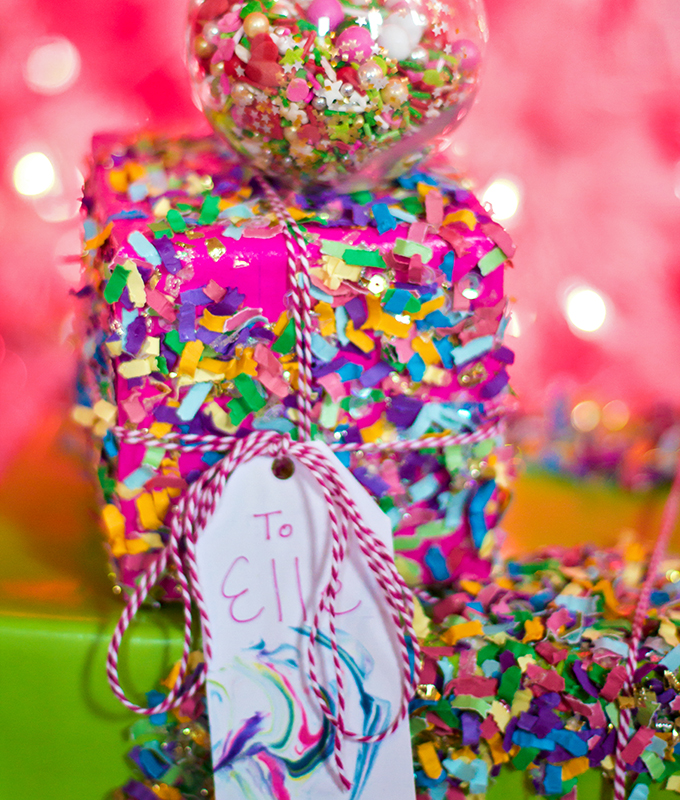
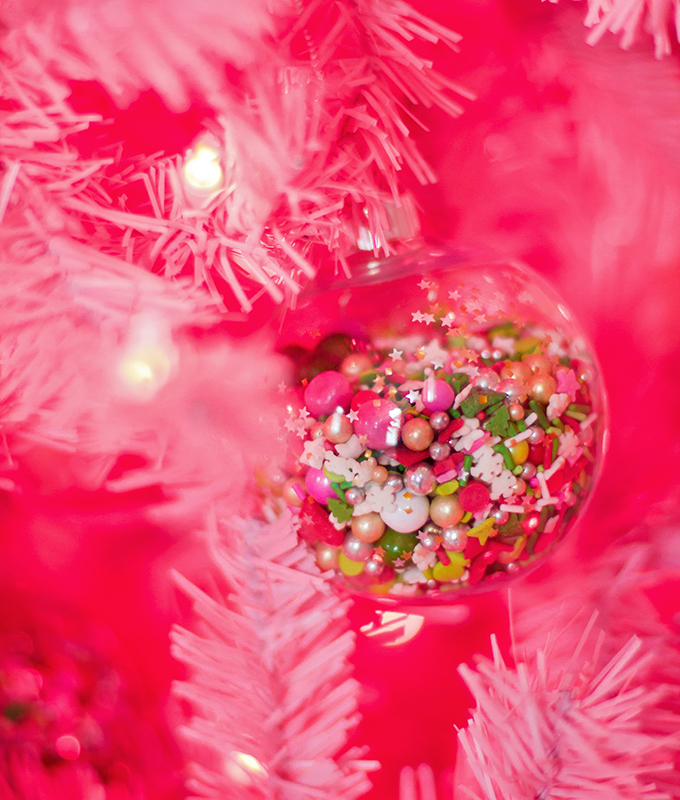
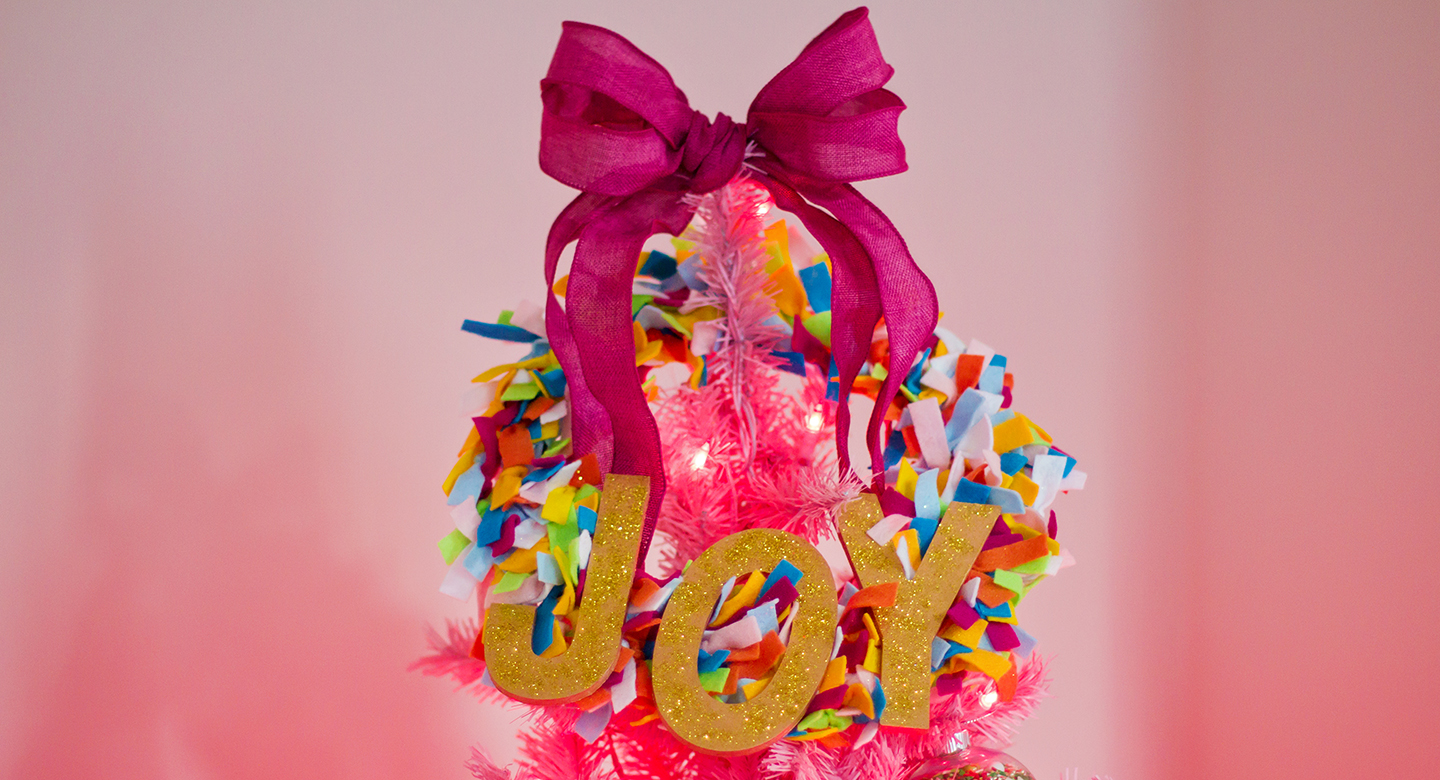
Well, let me just tell you, all the stops have been pulled out for Elle’s first Christmas, starting with our oh so sweet and perfectly pink Christmas tree scene, as you can see in all of these photos. So, keep on reading for how to decorate for your little one’s first Christmas!

How to Decorate for Your Baby’s First Christmas

We knew we wanted this Christmas scene to be pink (but of course!) with lots of special and sweet touches. From the pink tree to the sprinkle filled ornaments to the confetti clad gifts, it came out better than we could have imagined, and we’re pretty sure Elle loved it just as much.

Start with something sweet for your baby’s first Christmas ornaments

We knew we wanted to make some of the Christmas ornaments so we came up with the idea to make them sprinkle filled! So, we purchased a variety of sprinkles (all found here) and filled each ornament up (maybe eating a few sprinkles along the way).

This is so super simple. Our team did it in an afternoon, and it couldn’t have been easier.

Sprinkle Filled Ornaments

Instructions

1. Take the top off the ornament

2. Fill the ornament about 3/4 of the way with sprinkles (it’s easiest to use a funnel)

3. Close the ornament

4. Hang on tree

+ print project

Items Needed

  • Clear plastic craft ornaments
  • A variety of sprinkles (opt for ones without larger sprinkles, as it's harder to get them into the ornament)

Design Your Own Wrapping Paper and Gift Tags

Yes, of course it’s much easier to just buy wrapping paper and gift tags, but this is your baby’s first Christmas, after all, so why not go all out? It’s one you’ll want to remember forever.

So, when it comes to gift wrap and gift tags, make your own! It doesn’t have to be extremely time consuming or difficult. In fact, our confetti clad gift wrap didn’t take us long at all, and we had a blast doing it with our very own confetti (available here). And Holly made the tags when she was in Houston, and in watching her do it, it didn’t look tough at all!

Confetti Clad Gift Wrap

Instructions

1. Wrap your presents in any solid colorful paper you’d like

2. Decide what designs or patterns you’ll do (stripes, circles, all over, etc)

3. Use a ruler or stencil to make your shapes / patterns

4. Brush mod podge where you’ll want confetti going (filling the circles, etc)

5. Put confetti all over the mod podge

6. Let dry

7. Shake off the excess confetti

8. Fill in spots where confetti is lacking, repeating steps 4 – 7

9. Tie a ribbon on them with DIY gift tags (below)

+ print project

Items Needed

  • Wrapping paper in assorted colors
  • Mod podge
  • Paint brushes
  • Confetti
  • Stencils and / or ruler
  • Pencil
  • Ribbon or twine
  • Gift tags (below)

Marbled Gift Tags

Instructions

1. Cut cardstock to desired tag size. You can also use paper punches in specific shapes.

2. Dispense shaving cream into a plastic bowl. Add several drops of food coloring on top. Use multiple colors or use just one!

3. Use a popsicle stick or similar to swirl the colors together.

4. Carefully dip and wipe the paper across the top of the shaving cream to transfer the marbled color to the paper.

5. Use a clean popsicle stick to gently scrape off the shaving cream from the paper and onto a paper towel. The food coloring should not smear once the paper hit it.

6. Set aside to dry completely for about one hour. Punch a hole in the top of the tag and attach to your gifts for Christmas!

You can make multiple tags from one marbling of the shaving cream, or you can simply scrape out the shaving cream and start over whenever you want to change up the colors.

+ print project

Items Needed

  • White cardstock
  • Paper cutter (or scissors)
  • Hole punch
  • Shaving cream (not gel)
  • Food coloring
  • Plastic bowls
  • Popsicle sticks
  • Paper towels

Incorporate Other Elements from Your Baby’s Nursery

As you can see, we incorporated some of Elle’s favorite things from her nursery, such as her cuddle + kind dolls, her Cabbage Patch doll, and other little colorful items.

Add More to Your Tree

Once your sprinkle filled ornaments are up, layer on your extra special ornaments along with a tree topper (“joy” wreath DIY can be found here).

Pretty Pink Christmas

And there you have it! Each of the DIY elements were incredibly simple (even for those of us who don’t dabble in the DIY world often!). And the end result is a special and sweet Christmas tree setting.

Are you celebrating your baby’s first Christmas this year? If so, we’d love to hear what you have in store.

It truly is the most wonderful time of the year! We wish you a great weekend and we’ll see you back here tomorrow for our Sunday Source article.

2 comments

  1. Cristina Borja Slabic says:

    Oh, my! What sweetness! Delighted to see the joy in your face. Have a wonderful, merry Christmas! She is beautiful, Carrie. So good to find you again. (hug)

    1. julie says:

      Thanks a bunch, Cristina! Delighted to hear from you. Merry Christmas.

      Xo,
      Carrie

Leave a Reply

Your email address will not be published. Required fields are marked *