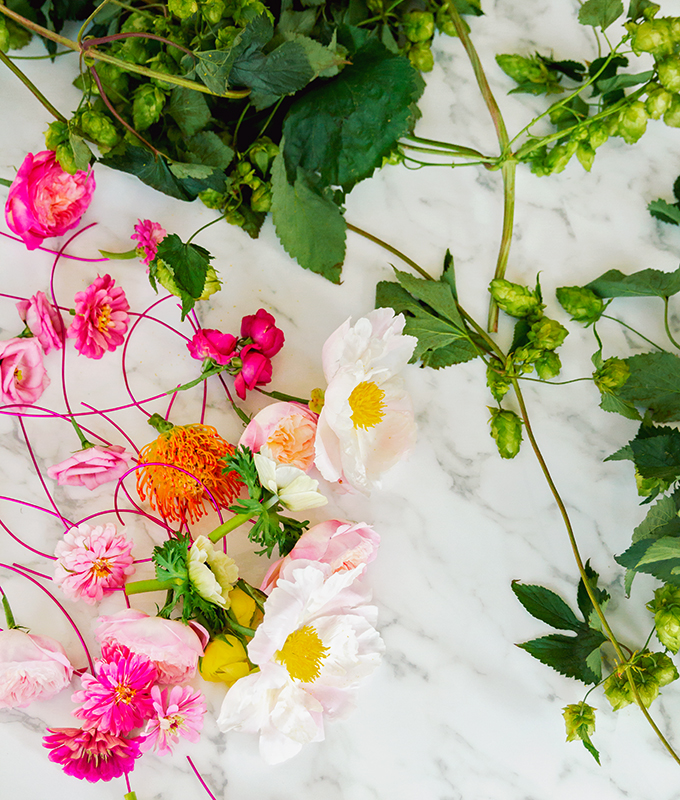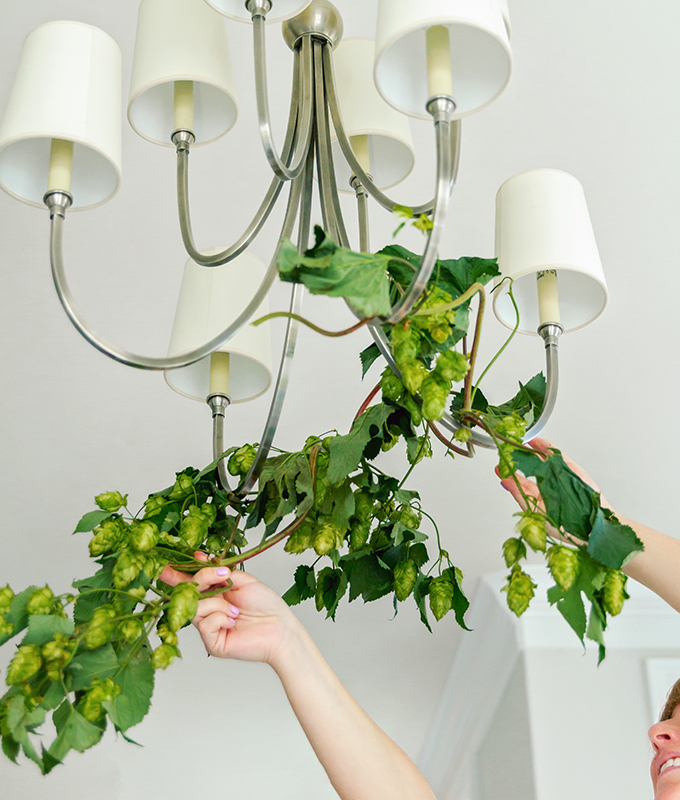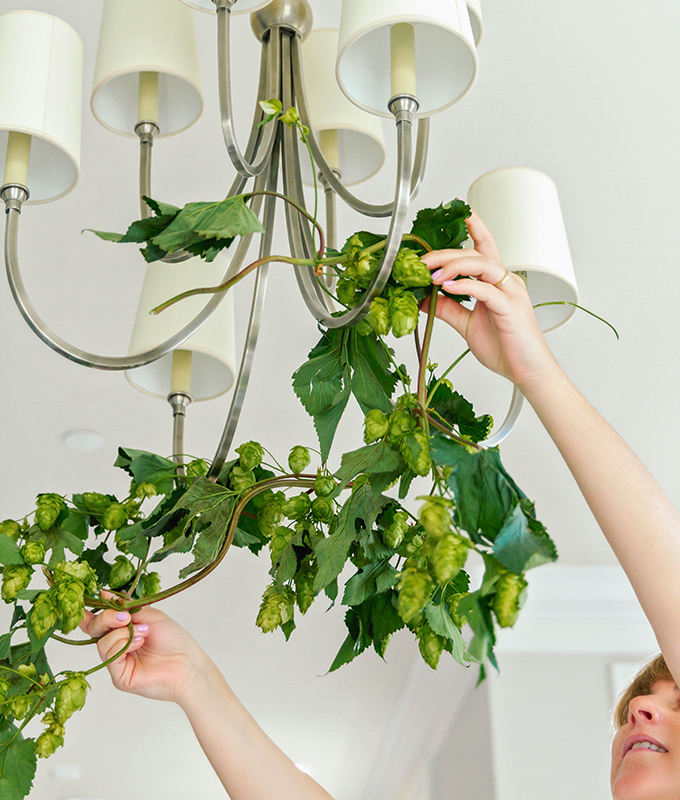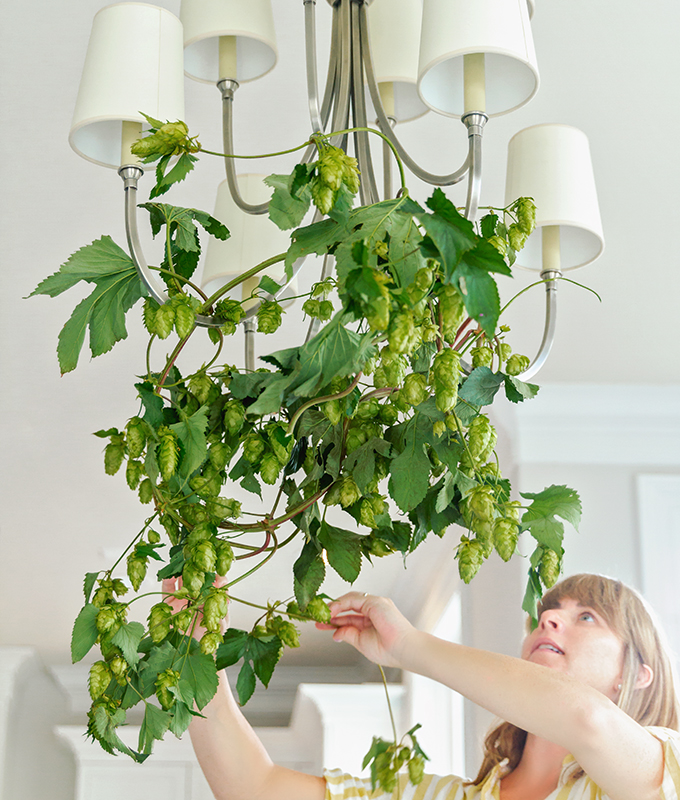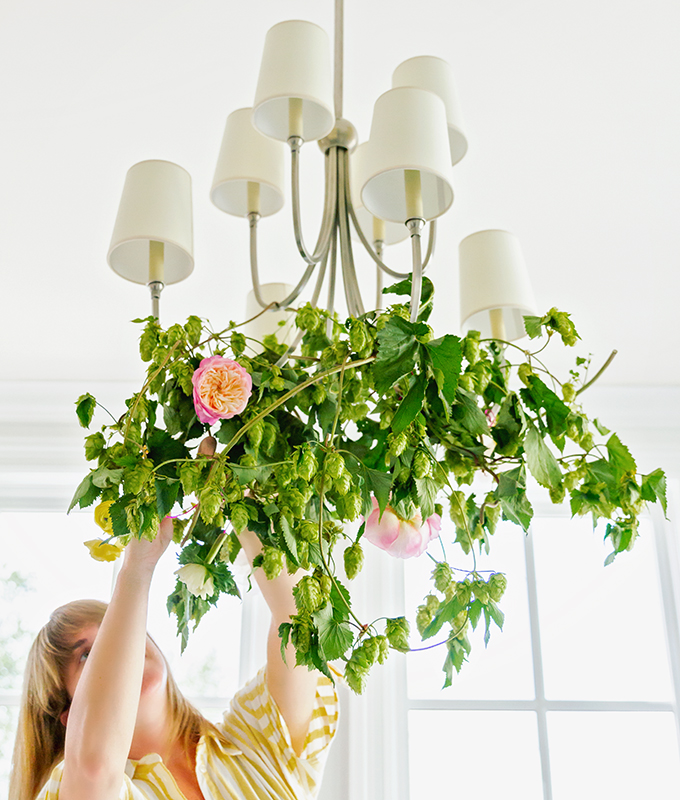
How to Create a Floral Chandelier
For a while now, I’ve been obsessed with the idea of decorating chandeliers for parties. In fact, for over a year, I was consumed with the idea of making a balloon chandelier. After we successfully executed the balloon chandelier idea for Elle’s birthday party, I then moved on to the notion of a floral chandelier.
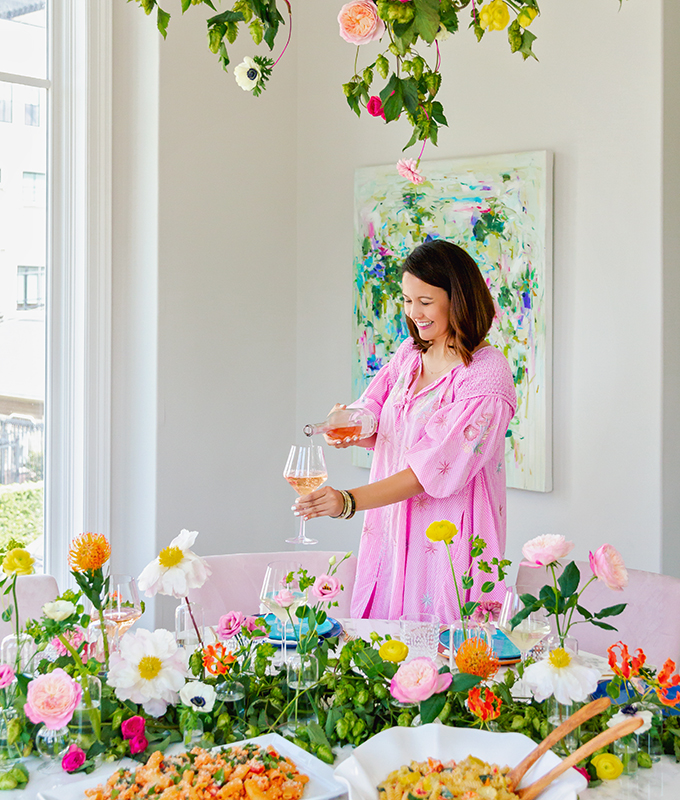
I first saw the floral chandelier idea executed beautifully by my friends at Sugar & Cloth for this tropical garden party that I attended. Since then, I’ve wanted to incorporate a floral chandelier into one of my parties – and learn how to do it myself! Well, recently I hosted an end-of-summer dinner party for the theme at my house. And we thought this the perfect opportunity to try our hand at a DIY floral chandelier!
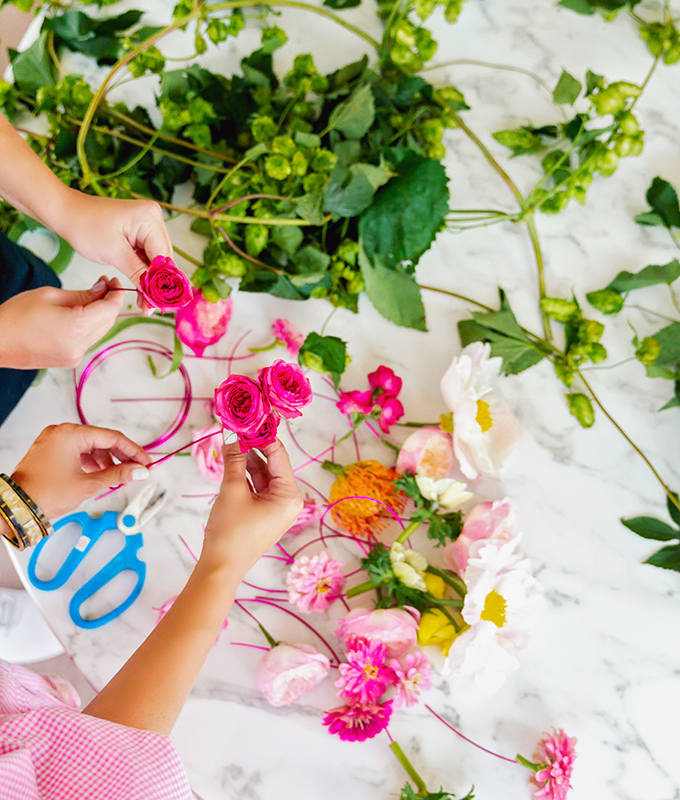
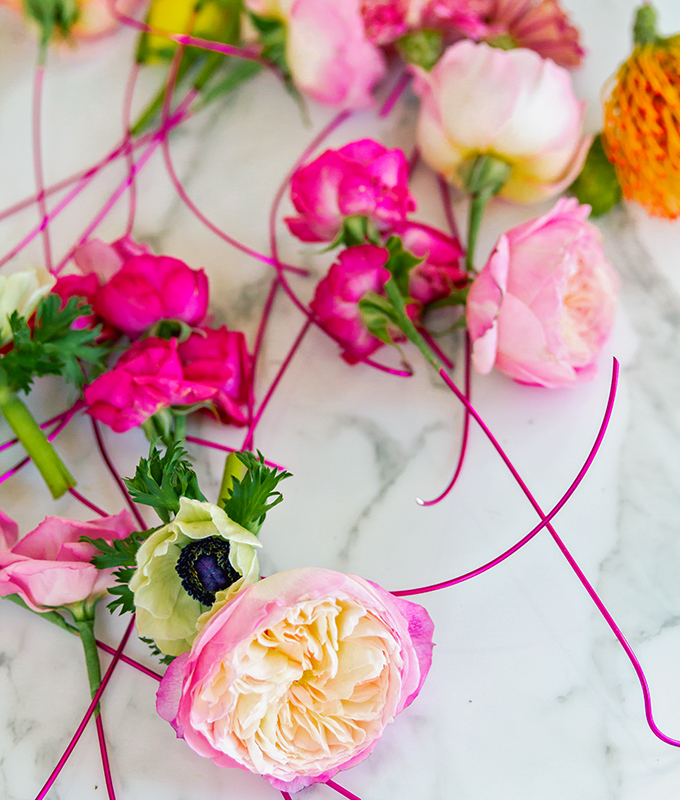
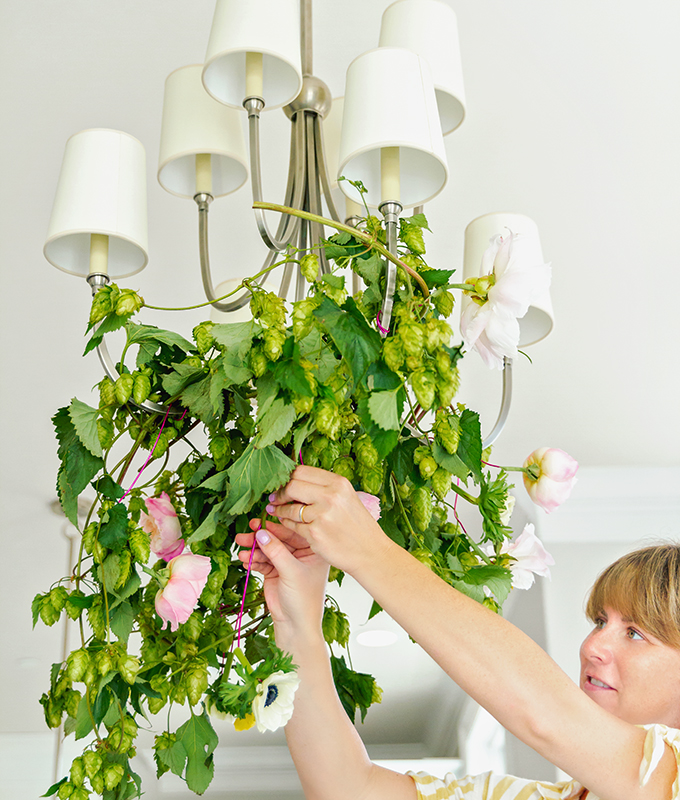
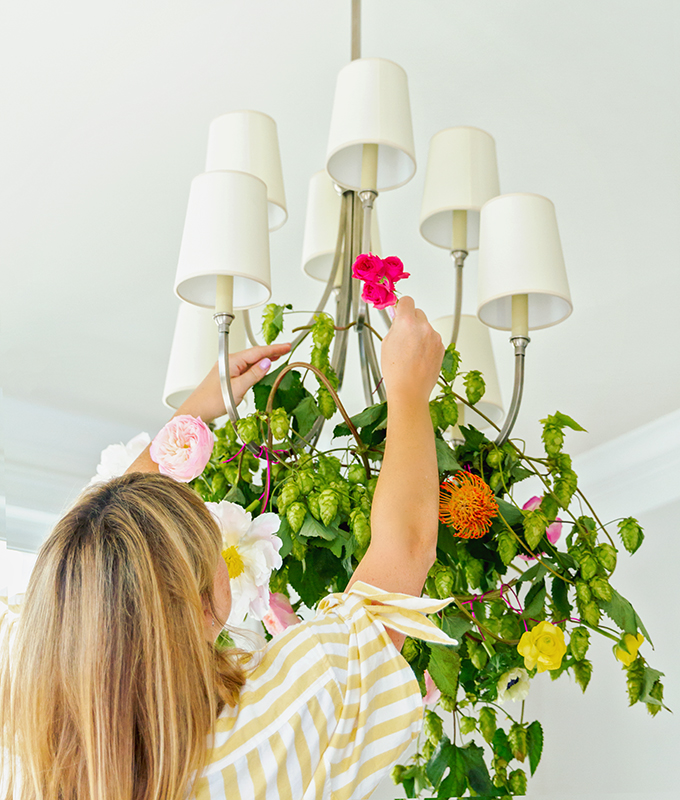
So, we enlisted the help of our friend Holly of Flower Vibes for this project. And she did not disappoint! She brought all our visions of a floral chandelier to life in an easy to replicate by yourself at home manner.
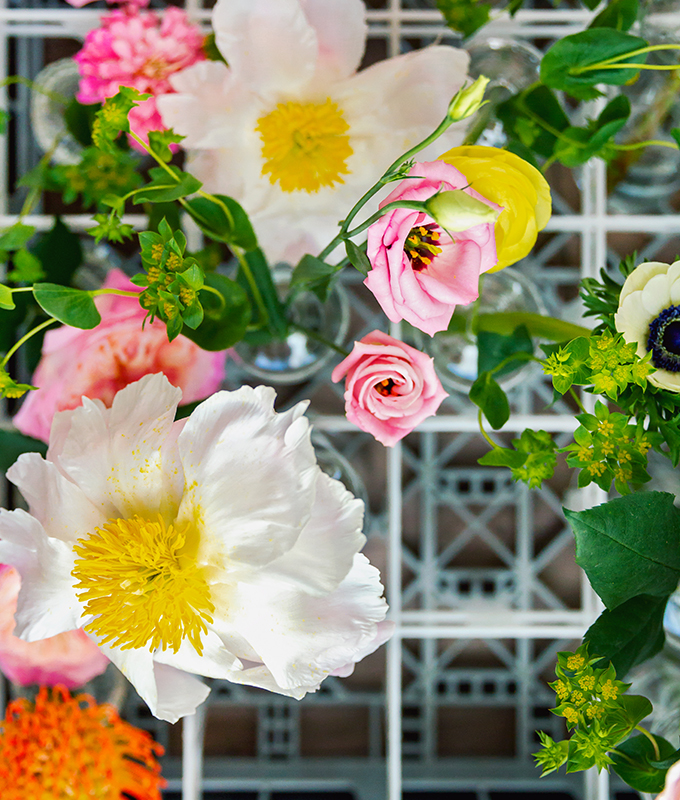
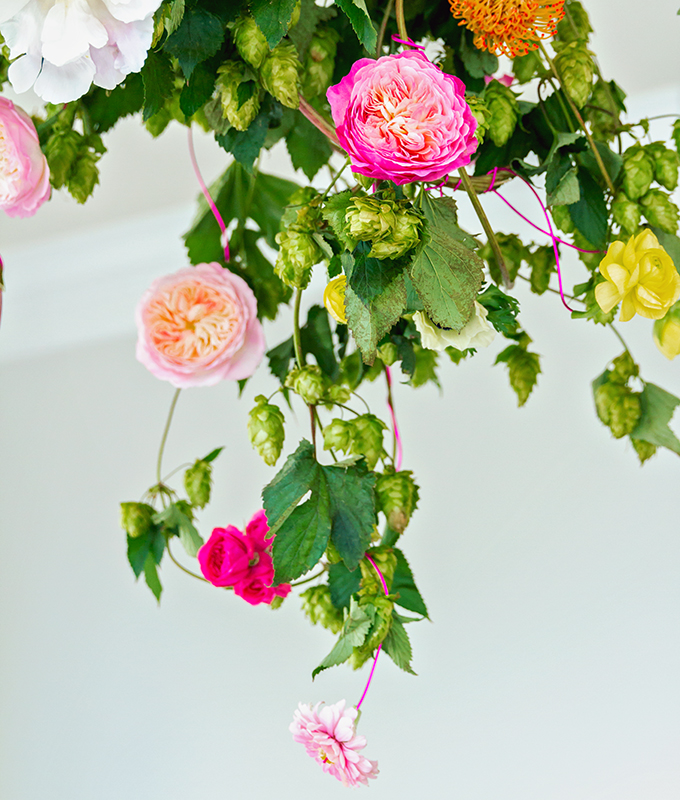
Afterwards, Holly generously agreed to share the detailed steps and supplies for this project. I promise – she made this so easy that even I feel confident I could tackle it again on my own. And it’s such a cool trick for pulling the eye upward at your next party. Keep reading for details…