September 27, 2018

How to Create a Beautiful Photo Album in Less Than One Hour

Seriously - it's that easy!

An Easy Way to Add More Happiness to Your Home

Do you remember the days when we took photos on film cameras? We took a photo, not knowing how it was going to turn out, then dropped our film off to be developed, and then finally opened that envelope of photo prints to 12 or 24 surprises. Some of those photos may have been good, but likely many of them were not.

Oh how lucky we are to live in today’s digital age with a camera practically always at our fingertips! We have the ability via our smart phones and digital cameras to take as many photos as we wish. And I take a lot of photos. In fact, my phone camera roll currently shows 52,388 photos. Can you believe that?

This ability to generate so many photos can be both a blessing and a curse.  It’s great that we have all of these memories captured, but sometimes the sheer volume of photos can make the thought of doing anything with them daunting!

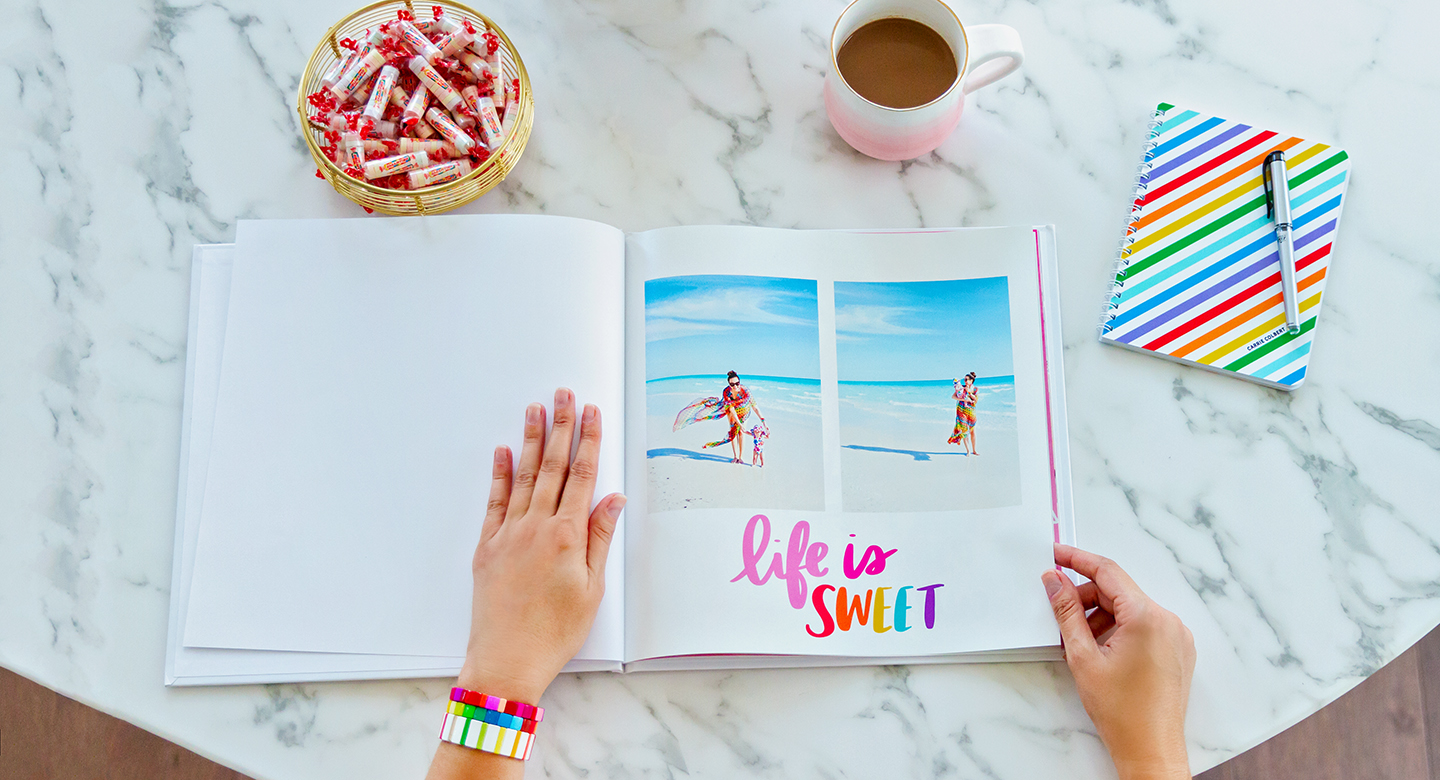
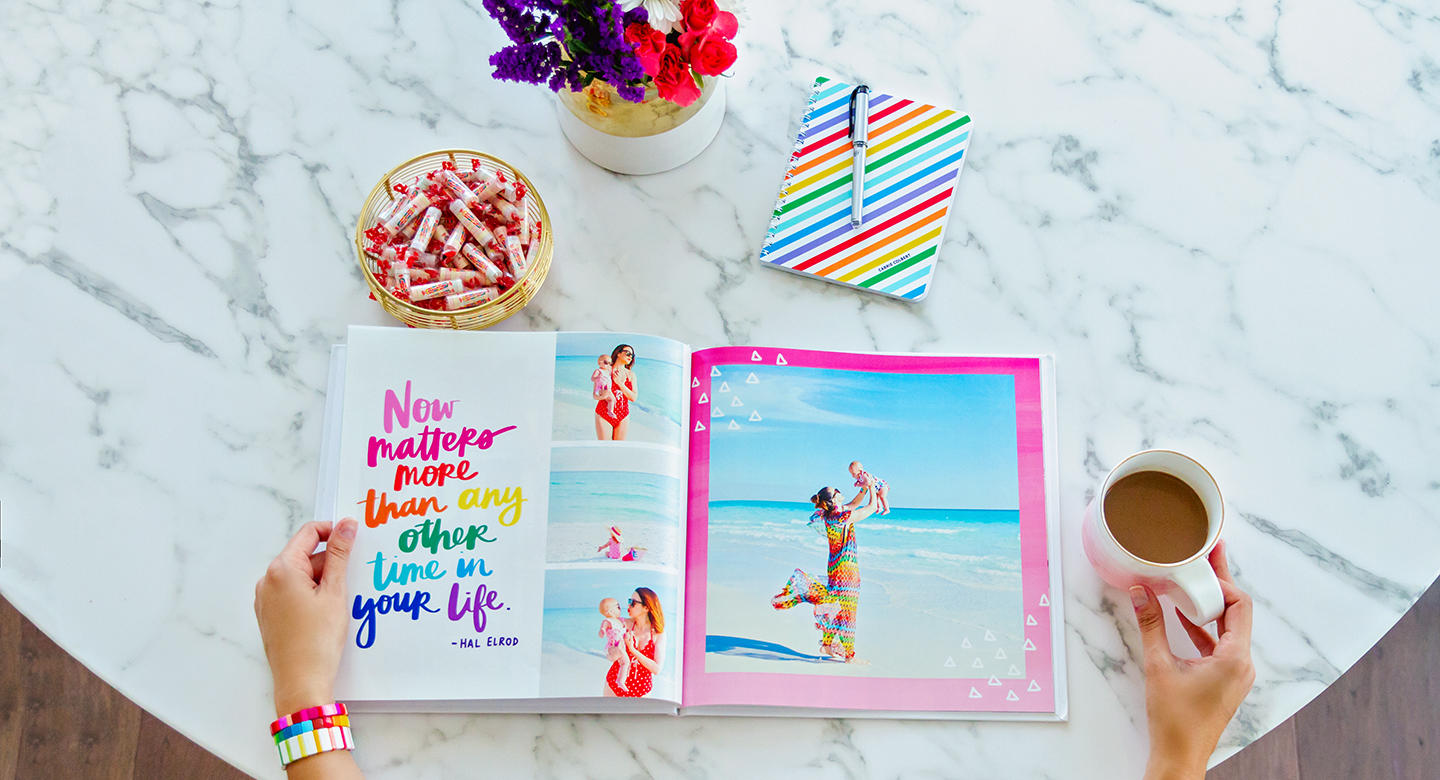
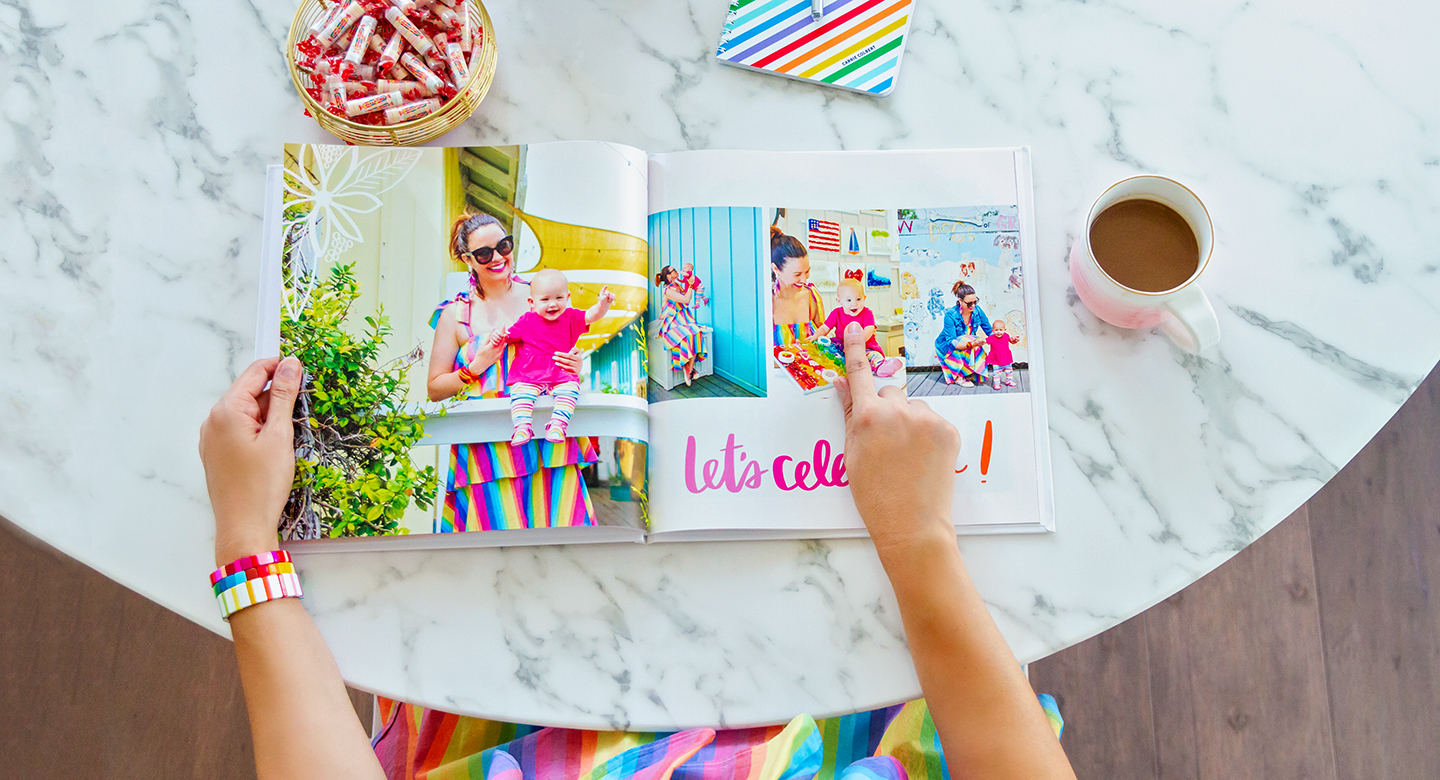
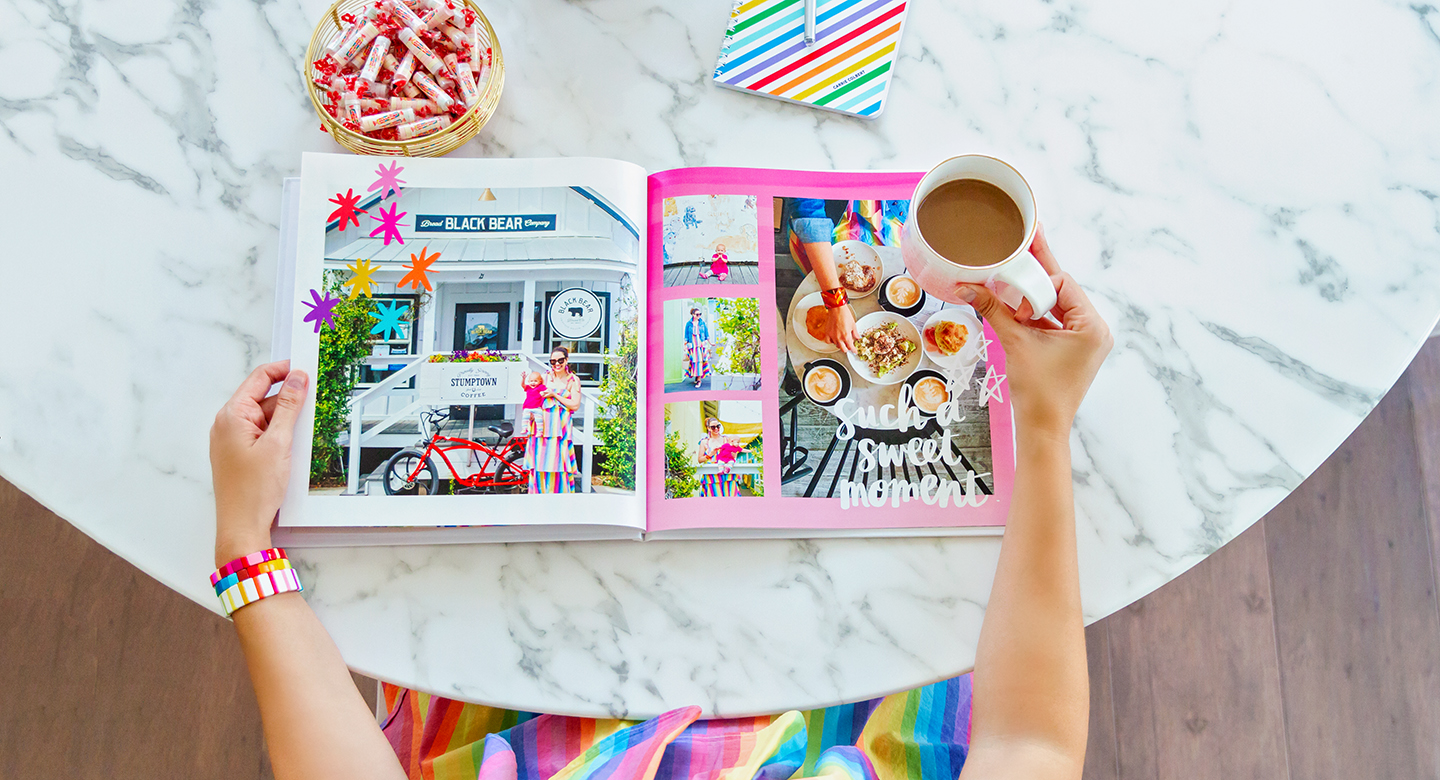
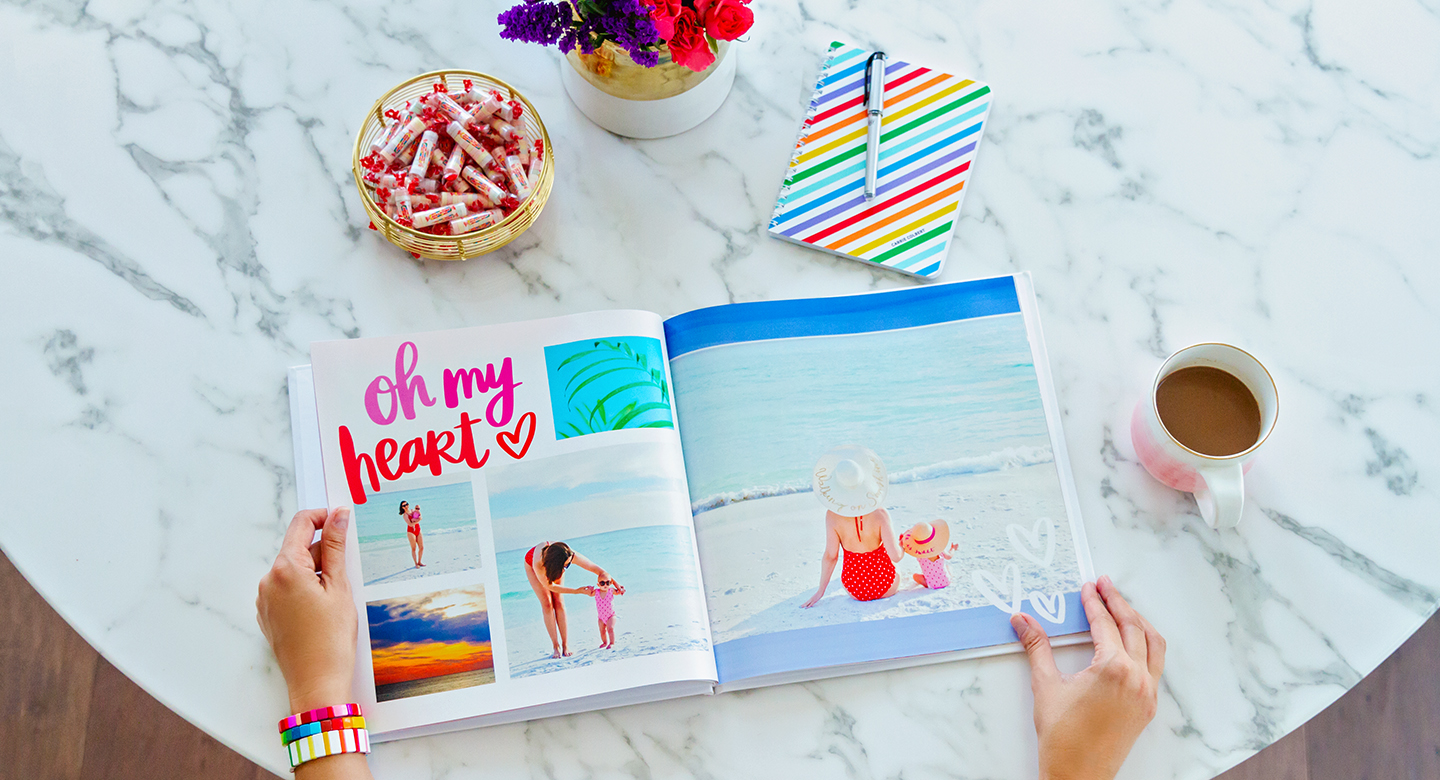
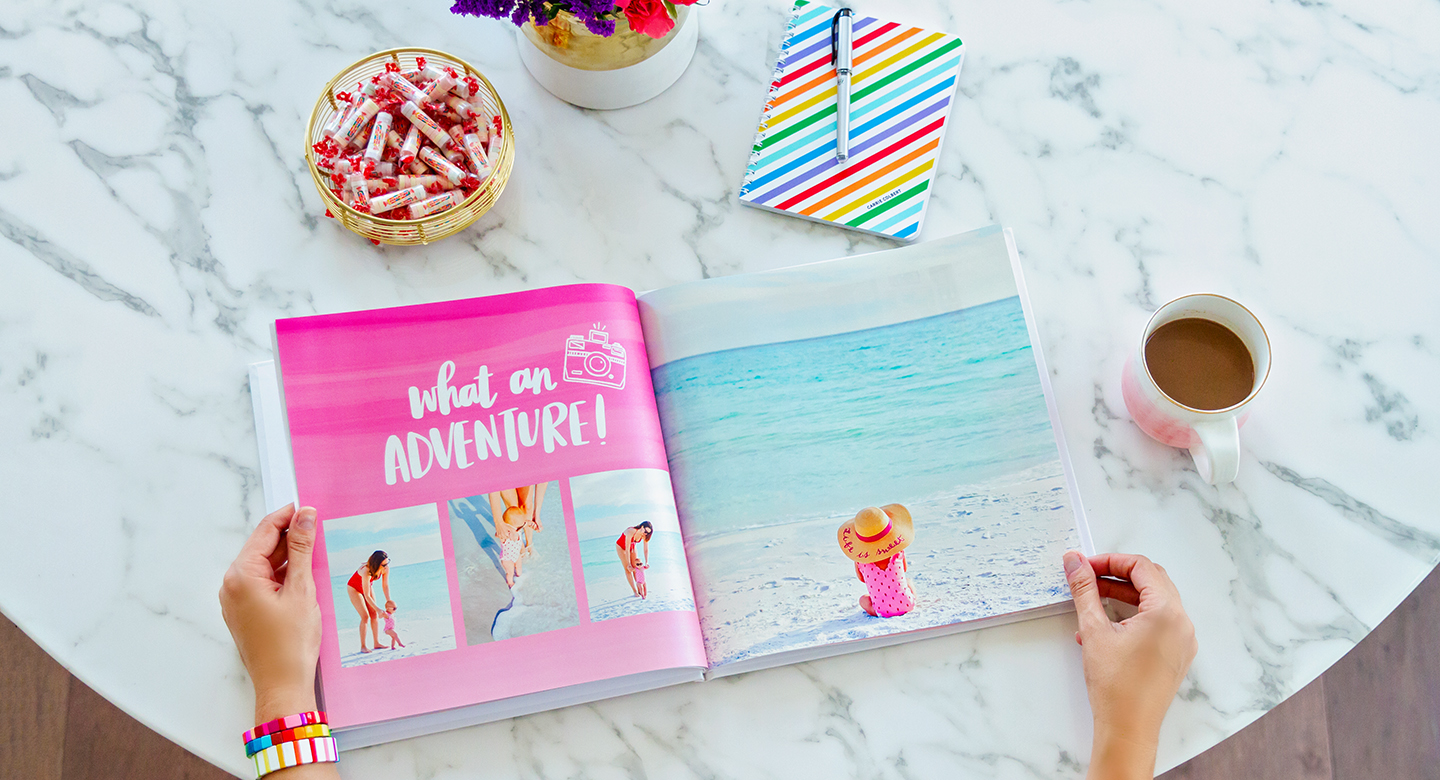
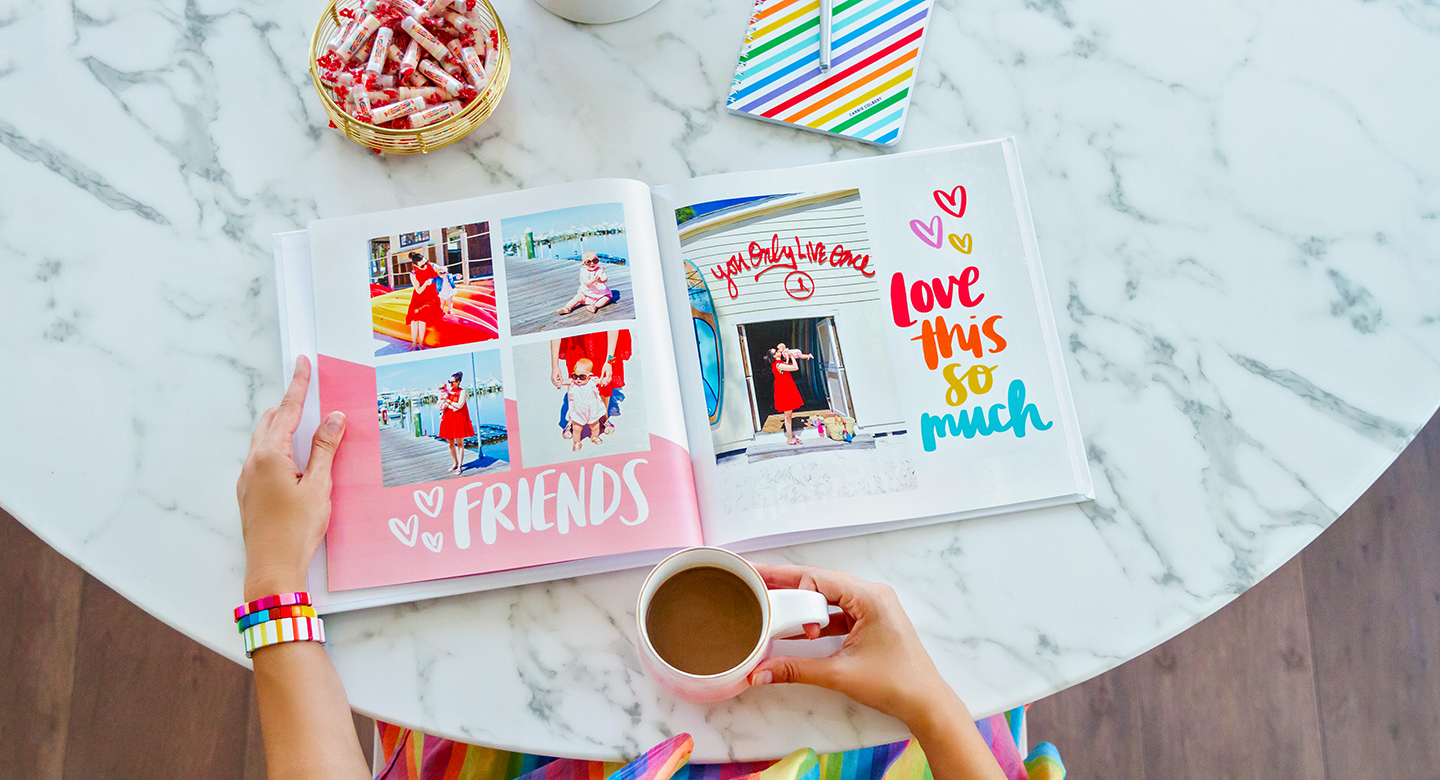
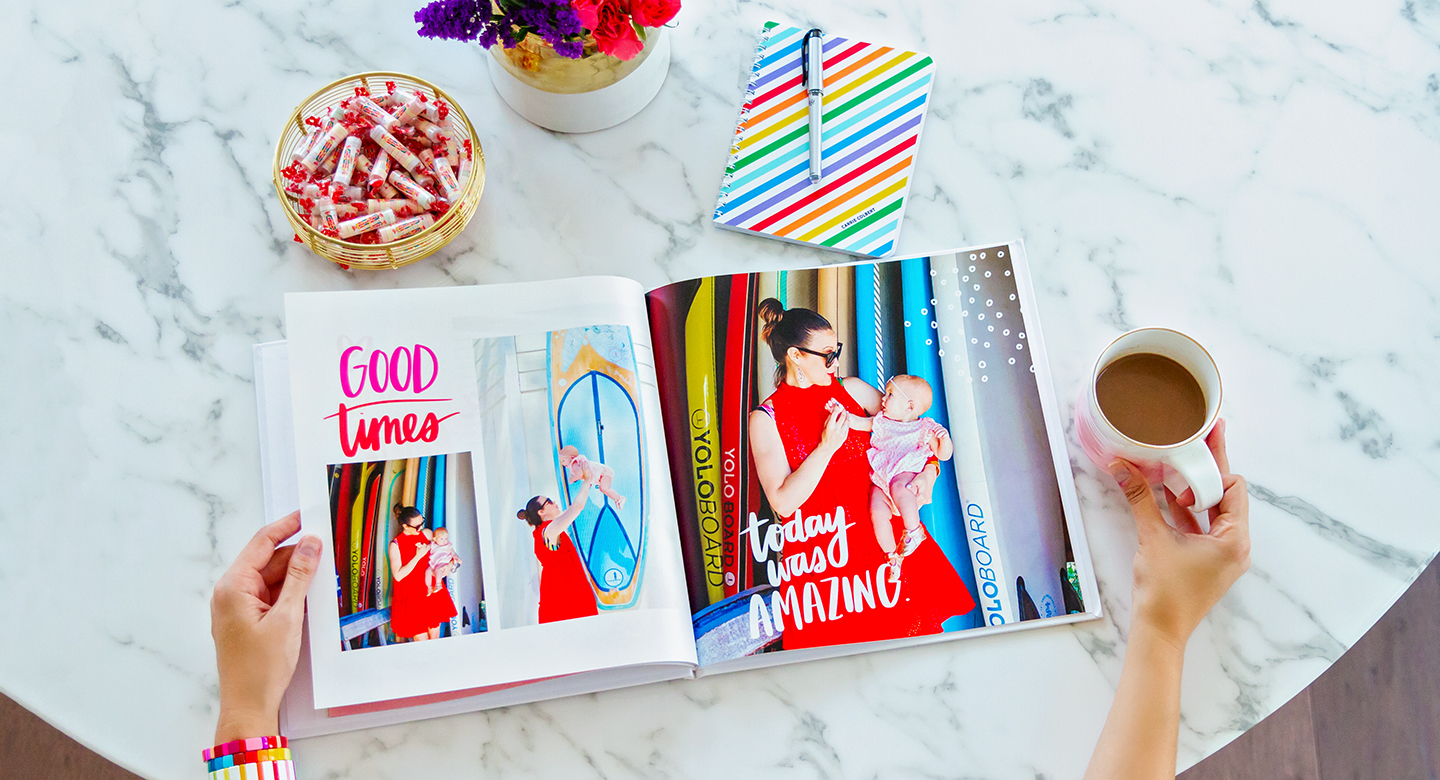
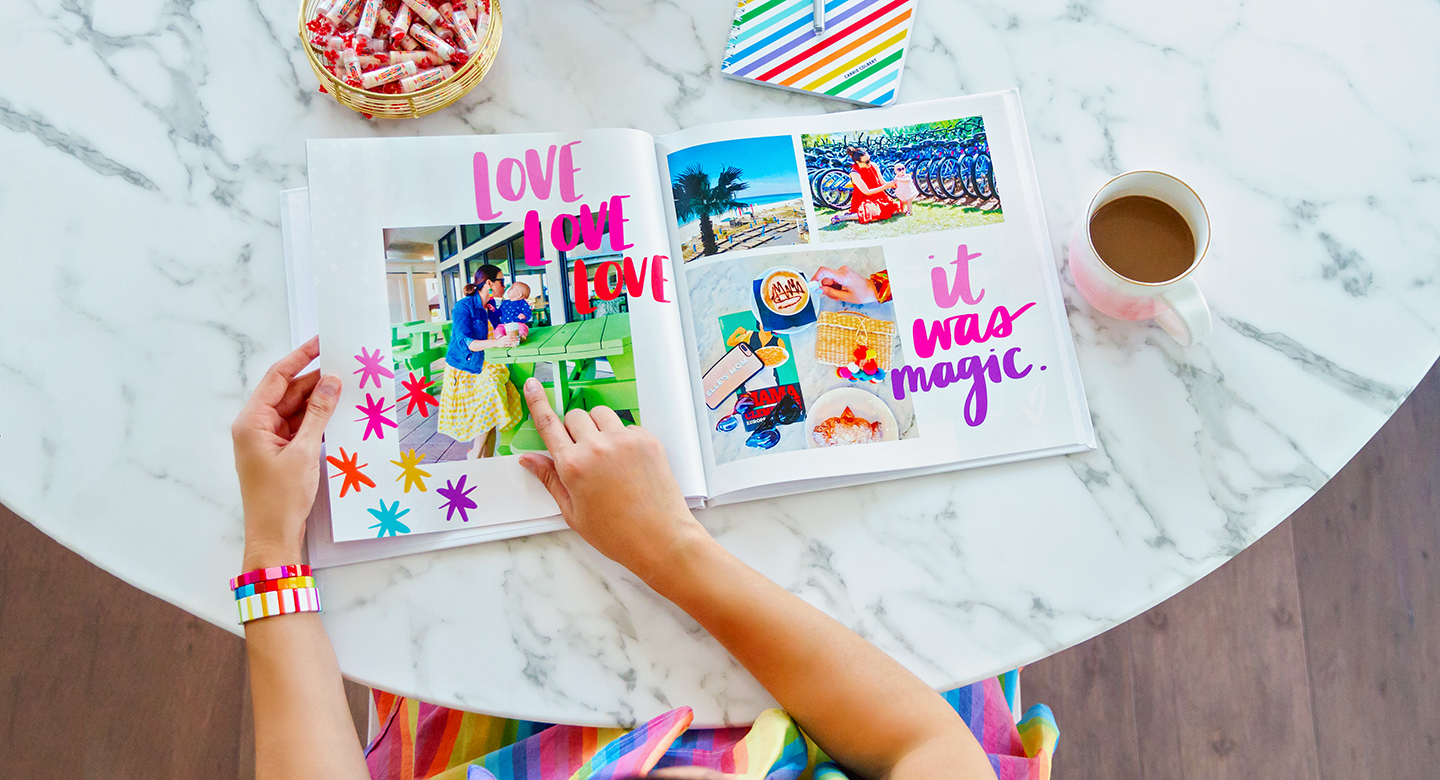
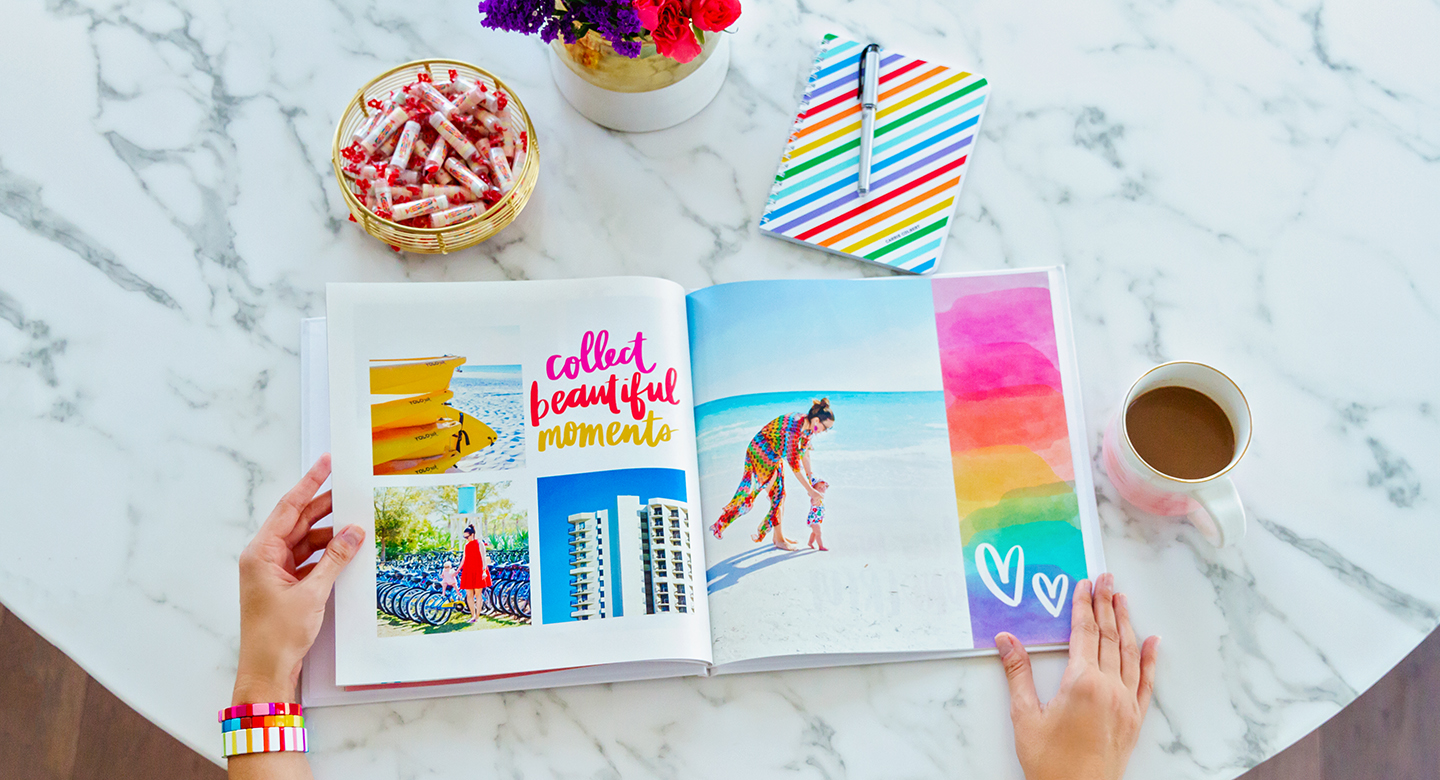
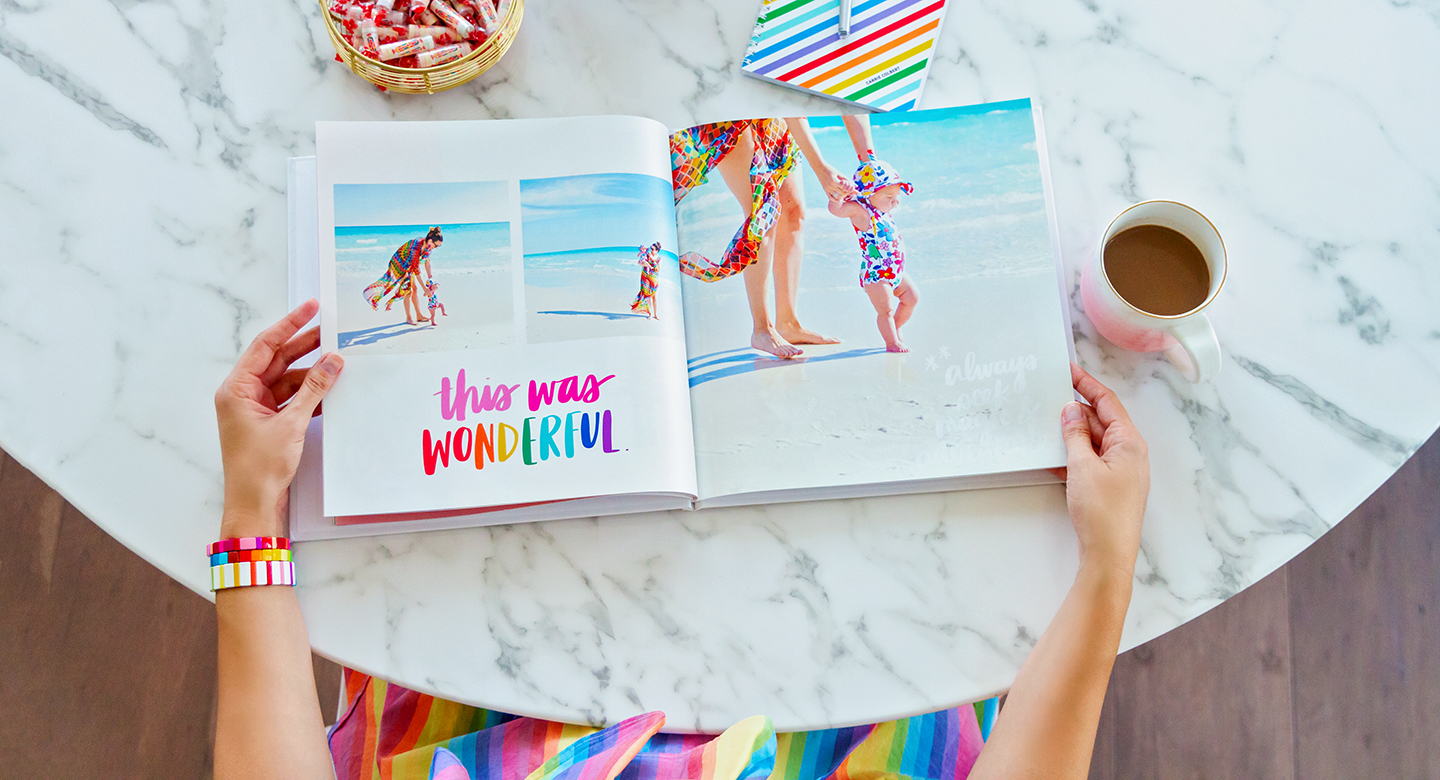
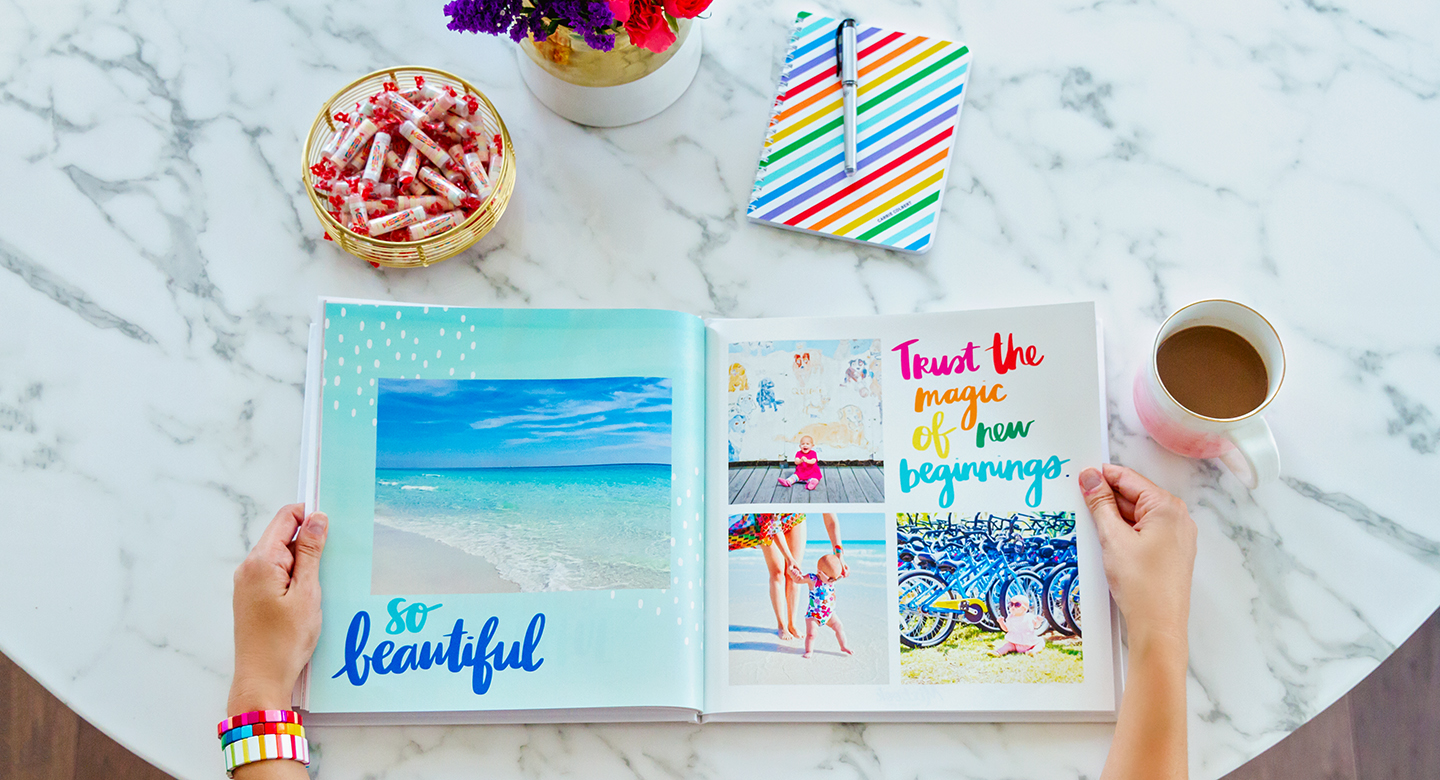
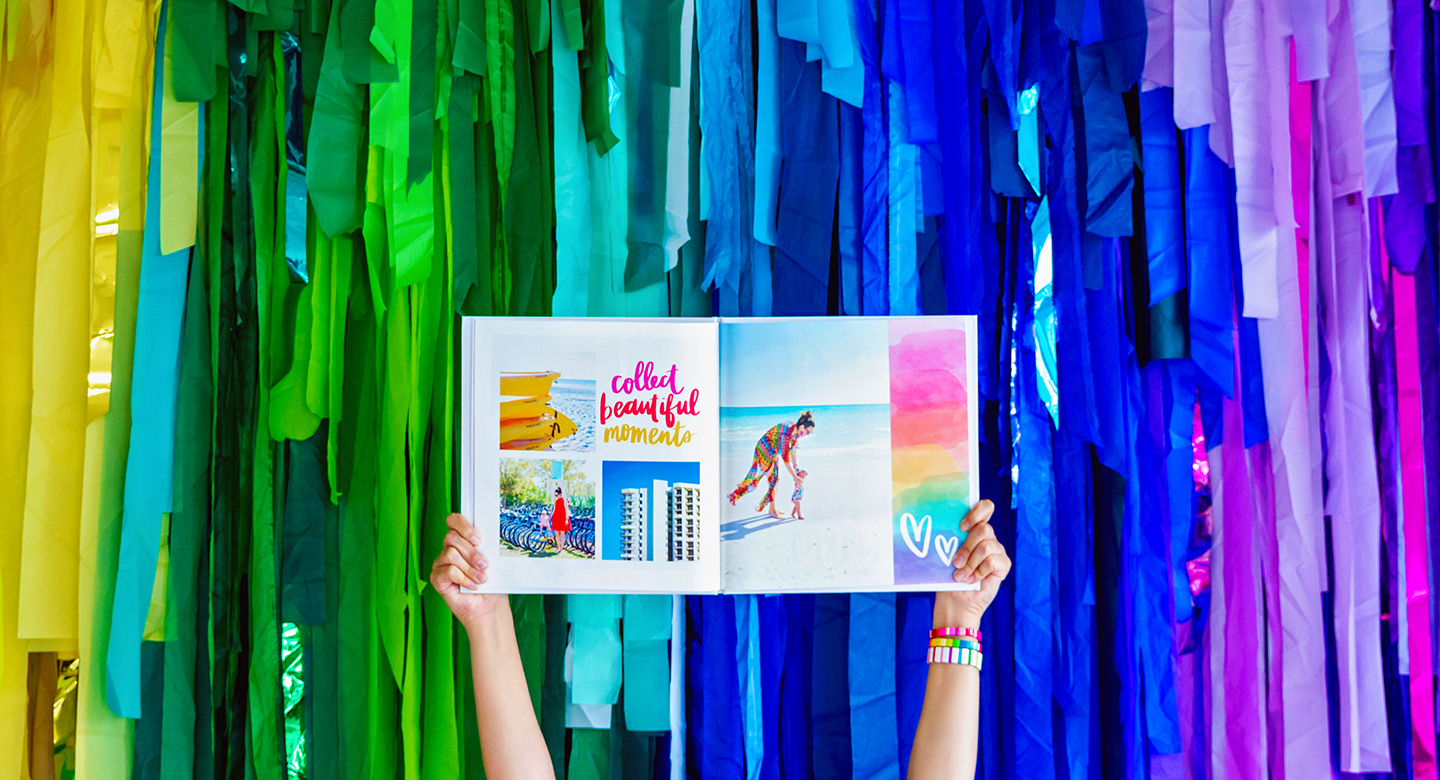
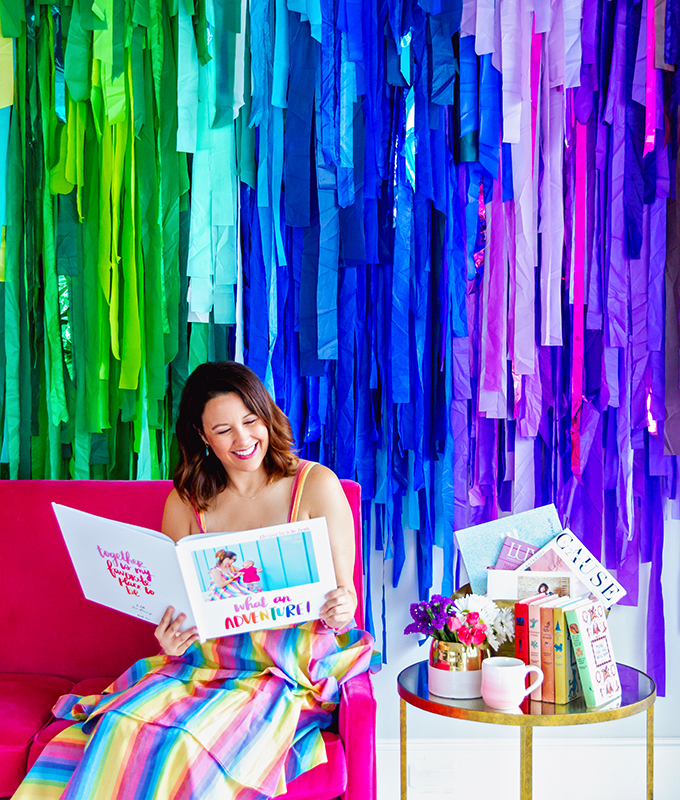
With our word of the month being happiness, I’ve been thinking of practical, tangible ways to bring happiness into my life and our home. Well, one of the first things that popped into my mind was doing something with my photos! So many beautiful memories sit on my phone and computer. Putting them into an album would allow these good times to stay in the forefront of my mind.

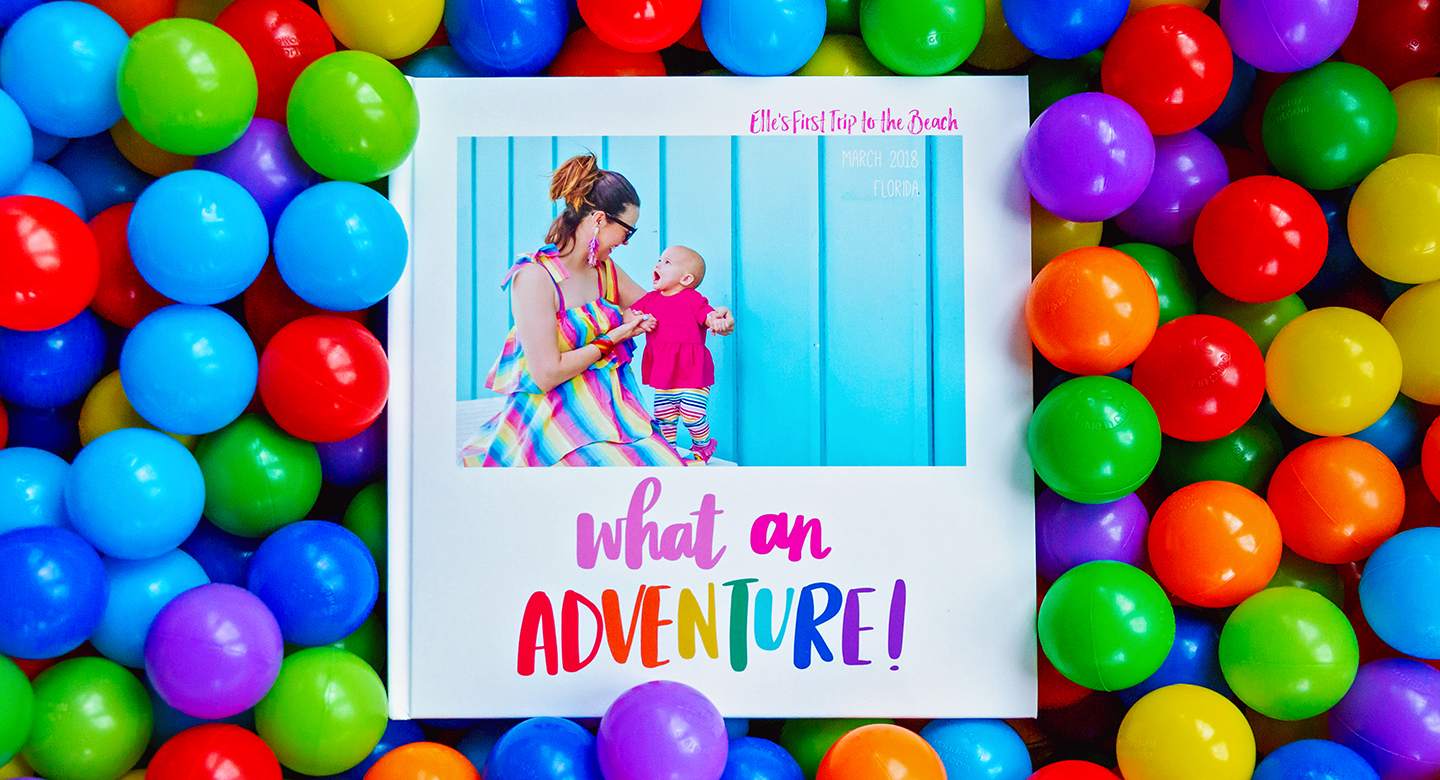
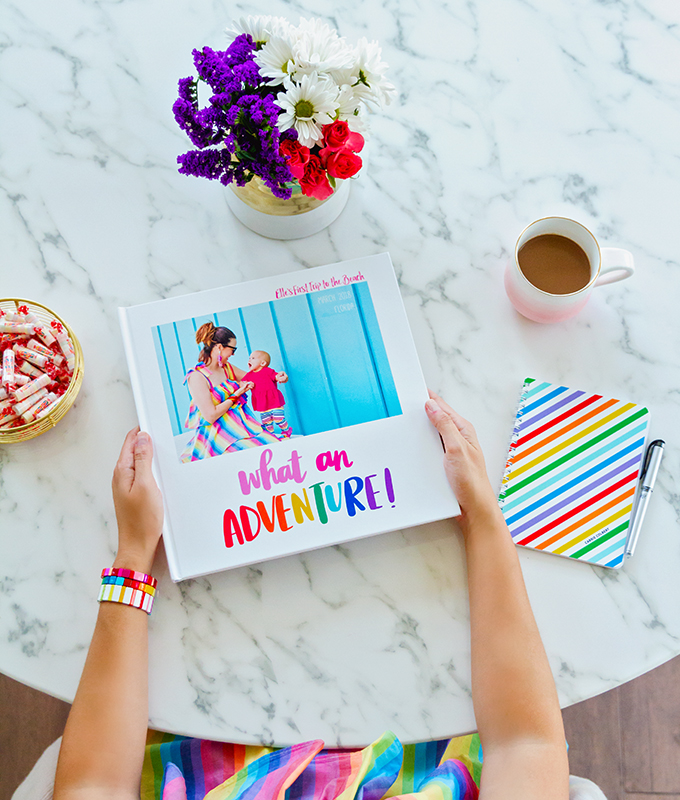
As some of you know, I used to be heavily into the crafting hobby of scrapbooking. Even though I don’t still do that actively, I do still have a soft spot for documenting life’s moments via photos and words. Well, one of the friends I made through scrapbooking was Amy Tan. When she told me she designed a photo album template for Mixbook, I knew that would be the perfect tool to preserve the memories of a special vacation!

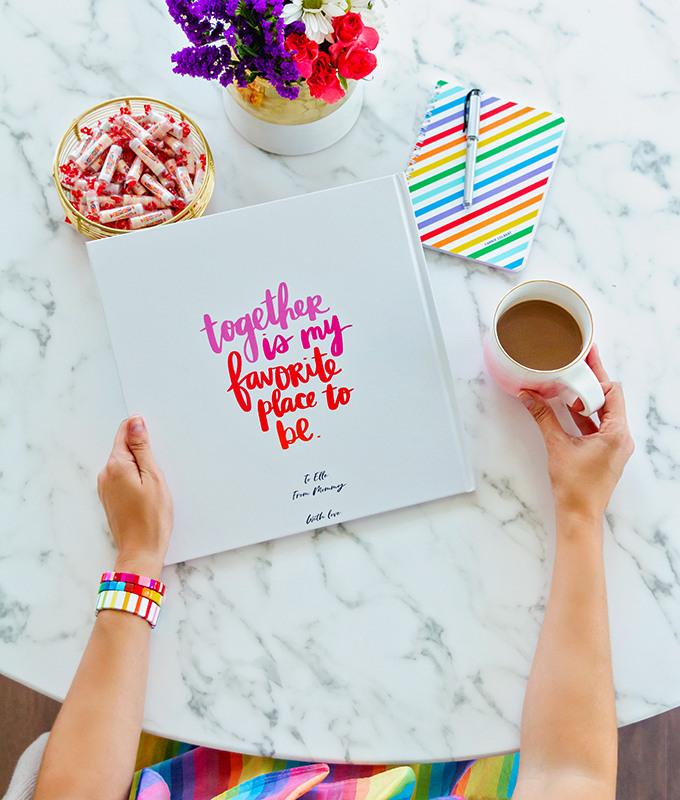
And I was blown away how easy it was to create this beautiful photo book! So, keep reading for all the how-to details, plus a special deal for you all from the Mixbook team…

How to Create a Beautiful Photo Album

Well, before I start giving you step-by-step instructions, let me just say that using a pre-made template makes it so easy that you don’t really need me to tell you much about how to do it. But I do have some helpful tips, based on my experience.

1 – Gather your photos together

First things first: gather all digital photos that you might possibly want to use into one folder. I use Dropbox, so I set up a Dropbox folder just for this purpose. I was grabbing photos from my phone and several different existing folders on Dropbox. So it was best and easiest to just create a new folder for this project.

2 – Pick out a photo album template

I of course chose the colorful template featuring Amy Tan’s signature rainbow brush lettering. But you can browse through the large selection and find a theme or style that works for you. After picking the style of your book, you can customize other features such as size, paper type, cover type, etc.

3 – Upload your photos

Having them all in one digital folder, as I mentioned above, will make this step super easy.

4 – Drag and drop

Next is the fun part! Drag and drop your photos into the template. Yes, it’s really that easy.

My tip for this part of the process is to group photos that are visually similar. In my case, I wasn’t trying to show the chronological order of our trip necessarily. So, for each new spread, I just looked at the layout of the spread, the colors of the spread, and the words on the spread, and then selected a grouping of visually similar photos to place in that spread.

For instance, one two-page spread might feature all photos from one day at the beach. While another spread might feature all photos of our time walking around the town. And another page might be a mish-mash of leftover photos that still look good together visually.

5 – Add words

Sometimes, the storytelling aspect is of utmost importance. In that case, you might want to add some extensive journaling on each page.

In this case, I let the photos do most of the talking. Or should I say I let the photos and the template do most of the talking? The beautiful hand lettered phrases added to my story adequately this time. So, I only added some personalization on the cover (with the topic – “Elle’s First Trip to the Beach” – and the date), plus a little dedication note on the back cover.

Remember, memory keeping doesn’t have to be difficult and overwhelming. Keep it simple!

6 – Review review review

Just take a moment to double check your book. The last thing you want is a careless typo or error! For instance, I first typed March 2017 on the cover of my book. Well, Elle wasn’t even born until June 2017. I have no idea why I typed it that way. But thank goodness I chose to review my work one last time before pressing order!

7 – Place order

And then stalk your mail person! This is going to be some truly happy mail coming your way!

Gift Code from Mixbook

If you too would like to make a photo album with Mixbook, they have generously offered $25 off your first order with code CARRIEC (code expires 12/15/18).

In Closing

Are you feeling energized to create a photo album now?

I’d encourage you to get those summer memories documented now before the busy holiday season hits us all! Trust me – you won’t regret it. This memory book puts a smile on my face each time I see it.

A note of disclosure: this post is actually not sponsored at all by Mixbook. I just really wanted to make an album, so I did so and purchased it. When the Mixbook team saw me posting about it on IG stories, they reached out to offer you all a discount. So, go use it! It’s such a great incentive to get those photos off your phone and into your home!

Of course there are tons of online tools to help you preserve your memories. Besides Mixbook, I also recommend Artifact Uprising. In addition, many people love Shutterfly and Blurb. Whatever tool you use, just get some of these happy memories off your phone and into your home.

Trust me – much happiness and many smiles will ensue!

Leave a Reply

Your email address will not be published. Required fields are marked *